Some cookies arrive dressed for a party. Raspberry cheesecake thumbprints fit that description, with pale, rounded edges and glossy red centers that make them look carefully decorated. The surprise is how little decorating is involved: Roll the dough, press a hollow into the middle, and spoon in raspberry preserves. Baker by Nature creator Ashley Manila’s version needs only five ingredients, mixing cream cheese directly into the dough rather than preparing it as a separate cheesecake filling.
That distinction is what makes this particular recipe appealing. You get a soft cookie with a cream-cheese-enriched crumb and a raspberry center without assembling a crust, mixing a separate filling, or baking an entire cheesecake. The dough contains cream cheese, salted butter, granulated sugar, all-purpose flour, and raspberry preserves. The recipe includes no eggs, and the jam does the visual heavy lifting without requiring icing or a piping bag.
Simple does not mean instant, though, and you should know that before you preheat the oven. Manila lists 10 minutes of preparation, 45 minutes of inactive time, and 12 minutes of baking, for a total of about an hour and seven minutes before additional cooling. Much of the wait belongs to the refrigerator. The payoff is about two dozen cookies with a polished appearance from shaping and portioning, not an afternoon of elaborate pastry work.
The Cheesecake Flavor Starts in the Dough
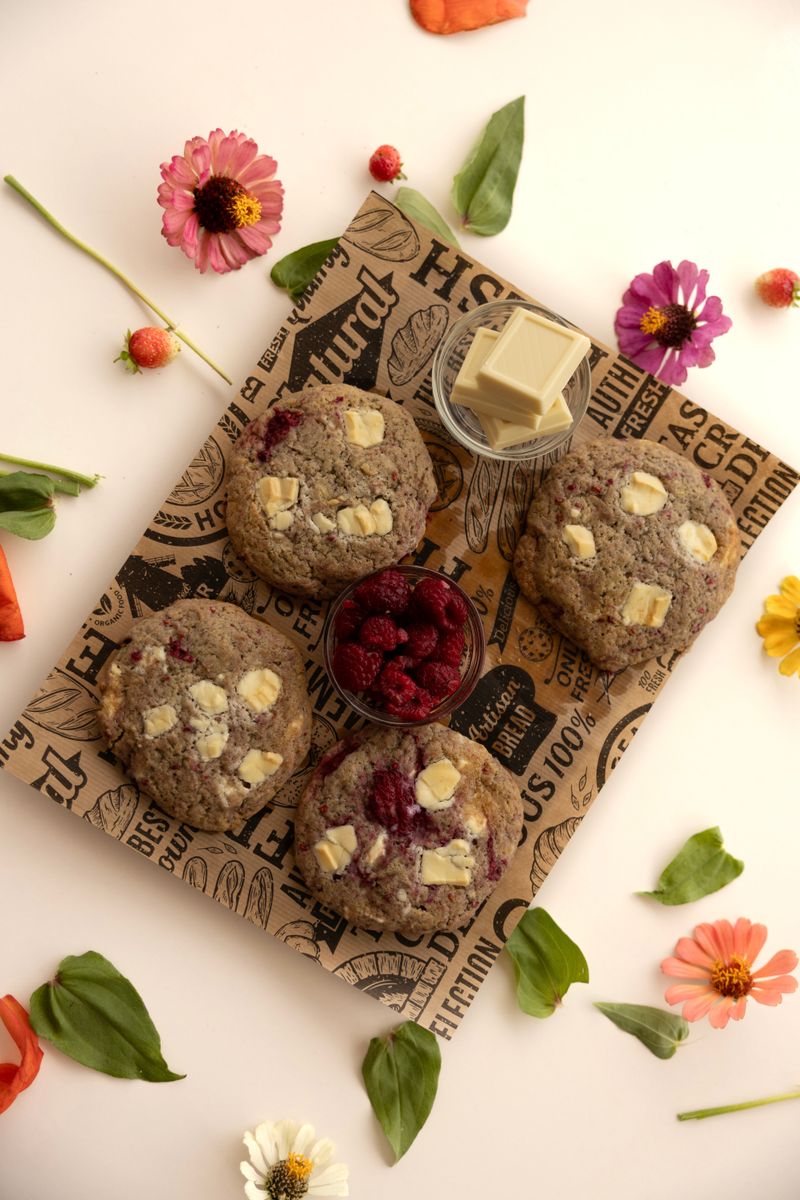
The recipe begins with four ounces of softened cream cheese and eight tablespoons of room-temperature salted butter. Manila recommends full-fat, brick-style cream cheese and specifies granulated sugar over brown sugar or other varieties. Those details matter because this is a tested formula, not a general invitation to empty the dairy drawer. The cream cheese supports the cookie’s structure and flavor, not as a topping added after baking.
The remaining proportions are equally straightforward: ½ cup plus 3 tablespoons sugar, 1 cup plus 3 tablespoons all-purpose flour, and ¼ cup raspberry preserves. Manila recommends weighing the flour with a digital kitchen scale for the best results. If salted butter isn’t available, she offers a specific alternative: use unsalted butter and add ¼ teaspoon salt with the flour. This is an instructed substitution, not a reason to adjust the other quantities.
More elaborate takes on the same flavor combination help explain why recipes with similar names can look different. Chef Meredith Laurence’s Blue Jean Chef version includes cream cheese in the dough, a separate cream cheese filling, and a coating of chopped toasted nuts. Laurence describes it as taking a regular thumbprint cookie “to another level in the world of cookies.” It is a different recipe with different proportions and baking instructions, not an extra step required for Manila’s five-ingredient version.
For the simpler batch,the raspberry center supplies the finishing touch. Manila permits other jams, jellies, preserves, and curds, but raspberry keeps the familiar fruit-and-cheesecake pairing front and center. Her optional flavor additions include vanilla or almond extract, though either would expand the ingredient list. The basic recipe needs neither. Its appeal is the combination already in the bowl: buttery dough enriched with cream cheese and a small pocket of fruit preserves.
The Refrigerator Does Part of the Work
Beat the softened cream cheese and butter until light and fluffy, scraping down the bowl as needed. Add the sugar and beat well, then incorporate the flour a little at a time on low speed, stopping once it is mixed in. Manila recommends an electric mixer for the process, and her recipe instructions use a stand mixer fitted with a paddle attachment. The order is uncomplicated, but it still deserves attention.
Next comes the patience part: Cover the bowl and refrigerate the dough for at least 45 minutes and up to two hours. This is a scheduled stage of the recipe, not optional waiting time to discard because the dough looks ready. Thirty minutes before baking, preheat the oven to 375°F and line a large baking sheet with parchment paper. The brief ingredient list makes prep manageable, but it doesn’t remove the chilling requirement.
Once chilled, scoop the dough into one-tablespoon portions, roll them into rounds, and press a small indentation into each center with your thumb. Add ½ teaspoon raspberry preserves to each hollow. That modest portion is deliberate. In a companion post about the recipe, Manila warns, “please don’t go jam crazy when filling these delicate little treats,” explaining that too much filling can sink through during baking and make the cookies difficult to transfer neatly.
The useful secret behind the fancy appearance is restraint. A defined hollow and a measured spoonful of jam create the recognizable thumbprint shape without intricate decoration. Manila’s updated recipe also suggests adding a little morefilling after baking if a cookie looks as though it can hold it. Keep the initial portion controlled, then assess the finished centers rather than loading every indentation to overflowing before the tray enters the oven.
Related: 8 Old-School Pantry Ingredients That Are Quietly Making a Comeback
Lightly Golden Edges Are Your Cue to Stop
Bake the cookies for 11 to 12 minutes, watching for edges that are just turning golden. Do not wait for the entire cookie to become deeply browned or firm. Manila specifically notes that the cookies will still feel very soft when they come out of the oven. That softness is expected in her recipe, and cooling lets them firm up while keeping a soft interior.
Leave them on the baking sheet for a full 10 minutes before carefully moving them to a rack to cool completely. This is not the moment for an impatient spatula maneuver: The recipe calls for a gentle transfer after that initial rest. The same restraint that keeps the jam neatly contained also helps preserve the finished shape. Follow the cooling instructions, and the cookies can reach the plate looking like the thumbprints you formed.
For longer-term planning,Manila says fully cooled cookies can be frozenfor up to two months. She freezes them on a baking sheet until solid, then transfers them to a freezer bag, removes as much air as possible, and labels and dates it. With a short shopping list, simple shaping, and a freezer option, these cookies offer a practical route to a polished-looking dessert, without asking you to become a cheesecake specialist first.
Other Posts You Might Like:
- 6 Ways to Declutter Your Pantry and Maximize Space
- 6 Pantry Essentials to Toss for a Healthier Kitchen