Watching a flat round of dough balloon into pita is the kind of kitchen moment that deserves an audience. One minute, it looks like an unremarkable disk; a few minutes later, it has inflated into a bread pocket. The transformation looks impressive, but it does not require a professional oven or elaborate equipment. A straightforward yeast dough and a properly heated cooking surface do much of the work.
That is why homemade pita makes an approachable bread project, provided “easy” does not get confused with “instant.” Suzy Karadsheh, cookbook author and founder of The Mediterranean Dish, lists about one hour and 48 minutes for her eight-pita recipe, including resting and rising. The process involves short stretches of mixing, kneading, and shaping rather than continuous labor. You need to allow the dough time, but you do not need to spend every minute supervising it.
“Making pita bread at home is straightforward and takes just a few ingredients you probably already have on hand,” Karadsheh writes. Her method offers both oven and stovetop instructions, making the project accessible even without a baking stone. Better still, a pita that fails to inflate completely is not automatically a lost cause. It can still serve as flatbread for dipping, wrapping, or scooping up something delicious.
The Dough Is Simpler Than the Dramatic Puff Suggests
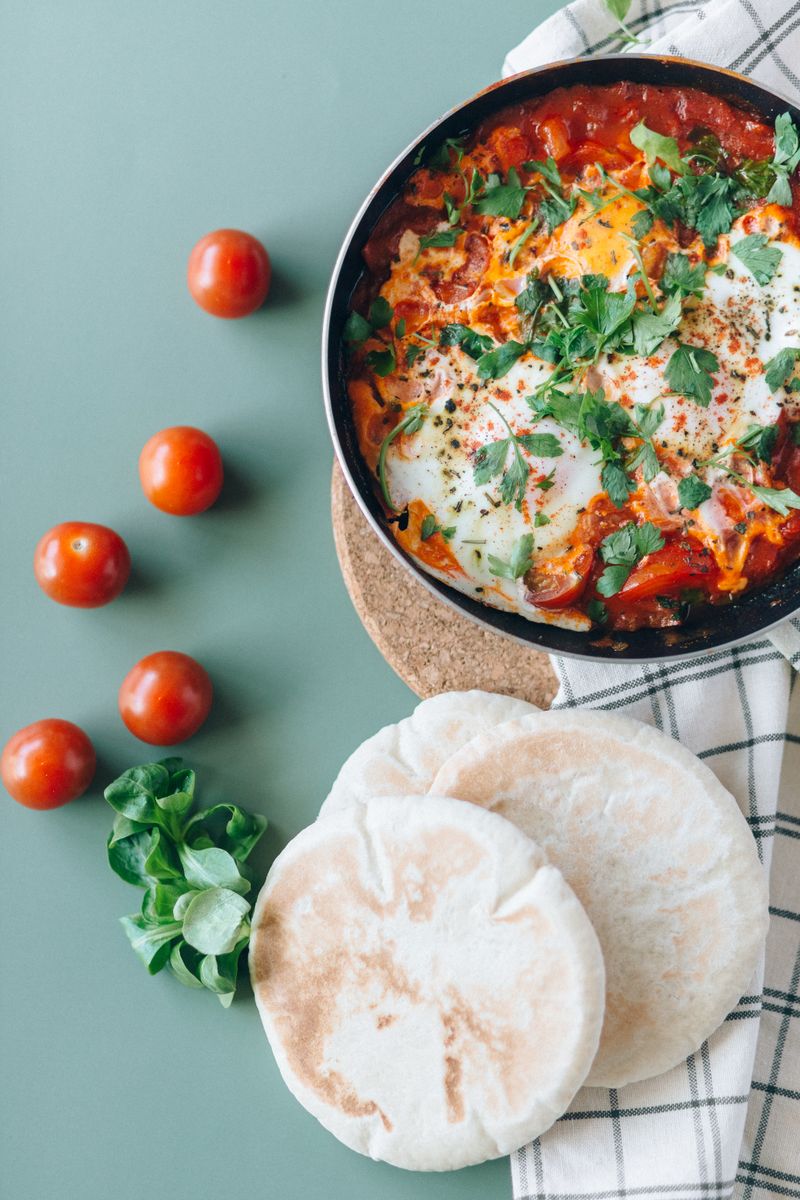
Karadsheh’s recipe starts with six ingredients: water, active dry yeast, sugar, all-purpose flour, kosher salt, and extra-virgin olive oil. For a batch, gather 1 cup of lukewarm water, 2 teaspoons of yeast, ½ teaspoon of sugar, 3 cups of flour, 1 to 2 teaspoons of kosher salt, and 2 tablespoons of olive oil. Her salt measurement uses Diamond Crystal kosher salt, a detail worth noting when following the recipe. No specialty bread flour is required.
The equipment list is similarly modest: a large bowl, something to stir with, a rolling pin, and a suitable cooking surface. There is no stand-mixer requirement. “In fact, I prefer to knead the dough by hand for my pita bread,” Karadsheh explains. That removes one potential barrier before the baking even begins. This is a recipe you can mix on the counter rather than an excuse to rearrange the kitchen around a new appliance.
Begin by stirring the yeast and sugar into the lukewarm water, then whisk in ½ cup of flour. Leave the mixture uncovered in a warm place for about 15 minutes, looking for bubbles. This preliminary mixture, called a sponge,gives you an early check on yeast activity. Karadsheh advises starting again with fresh yeast if it does not bubble, rather than carrying on and hoping the rest of the ingredients will rescue it.
Next, add the salt, olive oil, and most of the remaining flour, reserving about ½ cup for dusting as needed. Stir into a shaggy dough, briefly knead in the bowl, then move to a lightly floured surface. Karadsheh kneads for a couple of minutes, rests the covered dough for 10 minutes, and kneads again briefly. Aim for soft and slightly moist, not a dough stiffened by enthusiastic handfuls of extra flour.
The Pocket Comes From Steam, Not Fancy Shaping
Place the dough in a lightly oiled bowl, turn it to coat, and cover it. Let it rise in a warm, not hot, place for about an hour, or until doubled. Then gently deflate it, divide it into seven or eight pieces, and shape those into balls. Cover them for another 10-minute rest. The sequence is manageable because each stage has a clear job, and the rise gives you a visible cue beyond the clock.
Roll each piece into a thin round, lifting and turning it so it does not stick. Karadsheh also supplies a useful instruction for dough that keeps springing back: leave it alone for a few minutes, then resume rolling. There is no prize for winning an argument with elastic dough. A short pause is part of the method, not evidence that your bread-making ambitions have taken a wrong turn.
The dramatic puff happens during cooking. Serious Eats explains that intense heat sets the outside of the dough while moisture inside turns to steam. That steam pushes the layers apart, creating the pocket. Thin rolling and a very hot cooking surface help this happen quickly. The hollow center is therefore not something you sculpt or stuff into existence; it develops when the prepared dough meets the right cooking conditions.
For Karadsheh’s oven method, preheat to 475°F with a heavy-duty baking pan or large cast-iron skillet on the middle rack. Carefully place the rounds directly on the hot surface, working in batches. Bake for about two minutes, turn with tongs, and bake for another minute. Keep your attention nearby: this is a quick bake, not a loaf you put in the oven and forget while tackling another project.
Related: 10 Things You Should Never Do When Visiting Someone in the Hospital, According to Nurses
A Skillet Works Too, and Imperfect Pita Still Has a Purpose
Prefer the stovetop? Karadsheh heats a cast-iron skillet over medium-high heat, adds a little olive oil, and wipes away the excess. Cook one round for about 30 seconds, until bubbles appear, then flip and cook for one to two minutes. Flip again for another one to two minutes, watching for toasted spots and inflation. She notes that skillet pita sometimes develops only a small pocket rather than puffing fully.
If your bread stays flatter than expected, check the heat before blaming your kneading skills. Karadsheh identifies an insufficiently heated oven or skillet as the main reason pita fails to puff. King Arthur Baking offers reassurance about the result, describing uninflated pita as useful soft bread for wraps and dipping. Cover cooked pitas with a clean towel while finishing the batch, as both sources recommend, to help keep them soft.
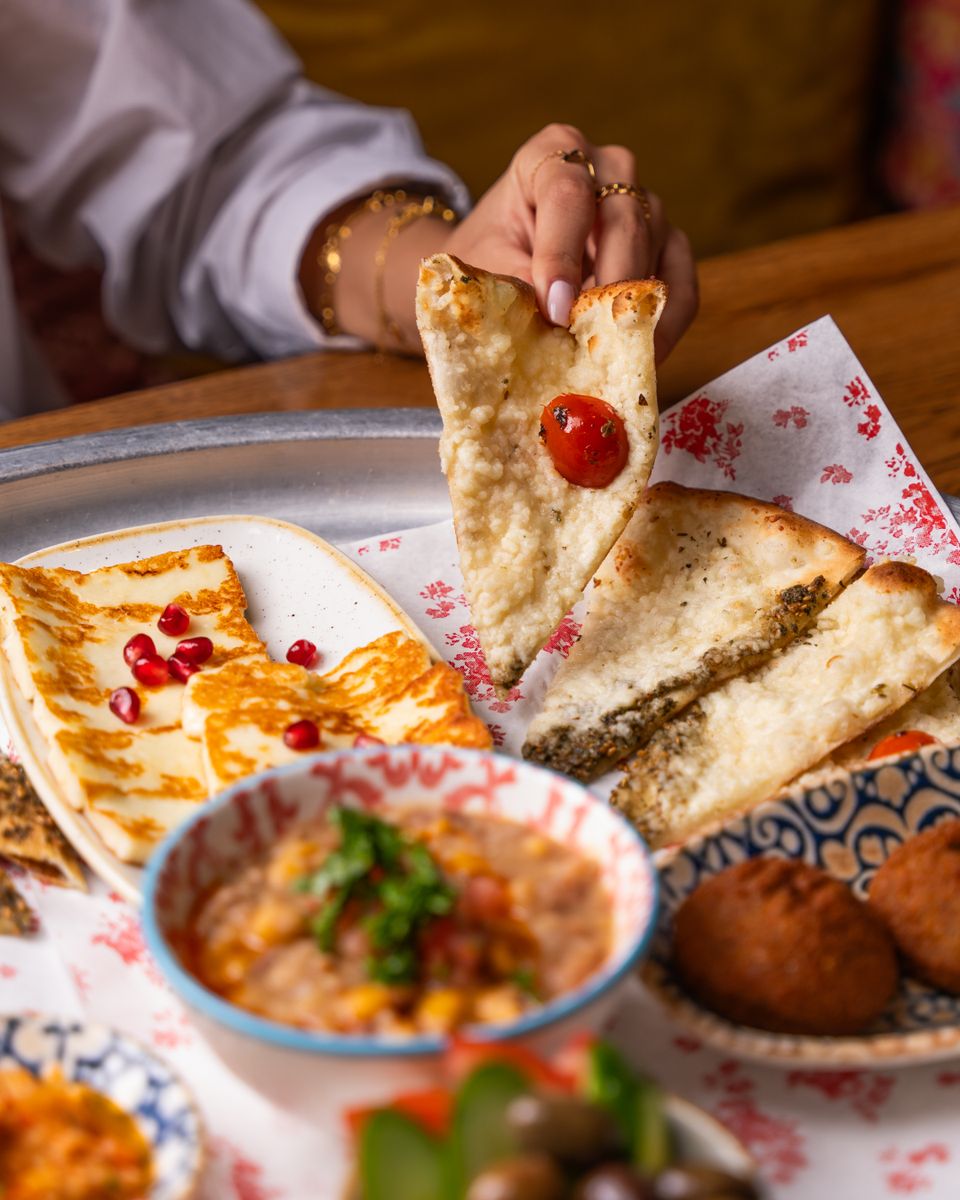
Serve the warm bread with hummus, falafel, soups, or stews, or use it for sandwiches when you get a good pocket. Any extras can be cooled completely and frozen in airtight bags, with wax paper between them for easier separation. Karadsheh recommends freezing for up to three months and reheating from frozen. That makes the first batch more than a baking experiment: it can also leave you with bread ready for another meal.
Other Posts You Might Like:
- 7-sneaky-tricks-that-make-your-home-look-expensive-without-draining-your-wallet
- 11-old-school-rules-younger-americans-are-refusing-to-follow