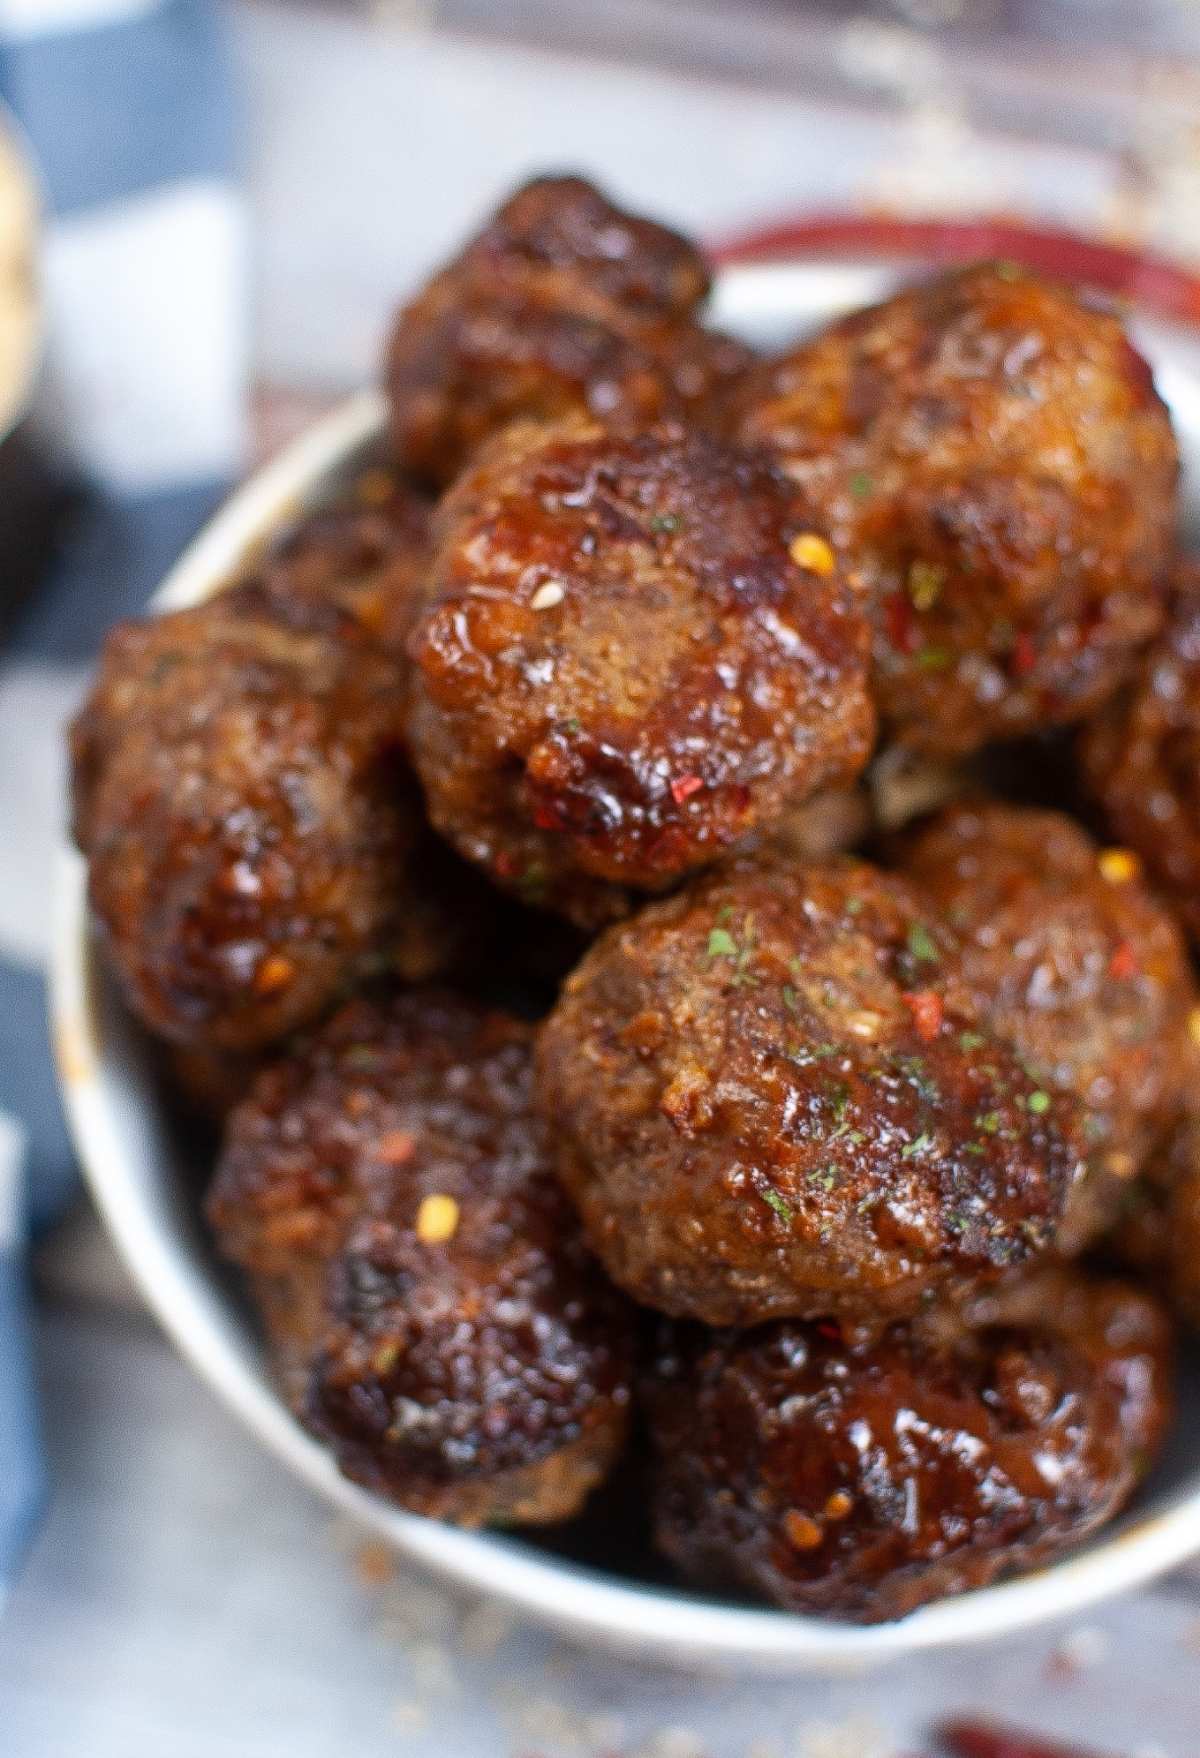
The sauce tastes right. The kitchen smells promising. Then a fork meets a meatball that takes more effort to cut than expected.
Tough, dry meatballs are frustrating because the problem is not always obvious. Extra time in sauce may seem like the answer, but it cannot reliably fix a mixture that was too dense before cooking began.
Tenderness depends on several decisions working together: the meat, the bread mixture, how thoroughly everything is combined, and when cooking stops.
These tips focus on soft Italian-American-style meatballs. Other traditions deliberately aim for a firmer, springier bite. The goal is not to make every meatball identical, but to match your ingredients and technique to the texture you want.
Mixing Past the Point of Even Distribution
Ground meat needs enough mixing to distribute the ingredients. Mix past that point, and the texture can become tighter and more cohesive.
The explanation involves myosin, a muscle protein that helps bind the mixture as meat is worked. America’s Test Kitchen explains how mixing develops that binding, which can help create deliberately springy Swedish-style meatballs.
For softer Italian-American meatballs, combine the ingredients evenly without turning the process into prolonged kneading.
Prepare the bread mixture and seasonings before incorporating the meat. That reduces the work needed to spread everything throughout the bowl.
Stop once the ingredients are distributed. The mixture doesn’t need to look perfectly smooth to be ready for shaping.
Using Very Lean Meat Without Adjusting the Recipe
Fat adds richness and a juicy mouthfeel. Changing the meat’s fat content can change how a finished meatball tastes, even when the seasoning stays the same.
Start with the meat blend your recipe calls for. Replacing it with a much leaner option won’t produce the same result.
If you prefer ground turkey or a leaner beef mixture, choose a recipe developed for that ingredient rather than automatically substituting it into another formula.
The supporting ingredients matter, too. Bread, liquid, and other additions need to work with the meat you are using.
A substitution may work, but keeping the original recipe intact for the first batch makes the results easier to understand and repeat.
Skipping the Panade
A panade is bread soaked in liquid, often milk, water, or buttermilk, then incorporated into the meat mixture.
It does more than stretch the meat. When properly prepared, it helps create a softer texture.
Make the panade before adding the meat. Let the bread absorb the recipe’s liquid, then mash it so there are no stubborn dry centers.
This also makes the bread easier to distribute. Large, dry pieces require more handling to break apart once the meat is in the bowl.
Follow the liquid and bread quantities in your recipe. Make the panade intentionally, not by adding a splash of milk at the end because the mixture feels stiff.
Preparing it separately gives you a better starting point before you begin shaping.
Related: 5 Protein-Packed Foods That Make Meatless Dinners Feel Like a Real Meal
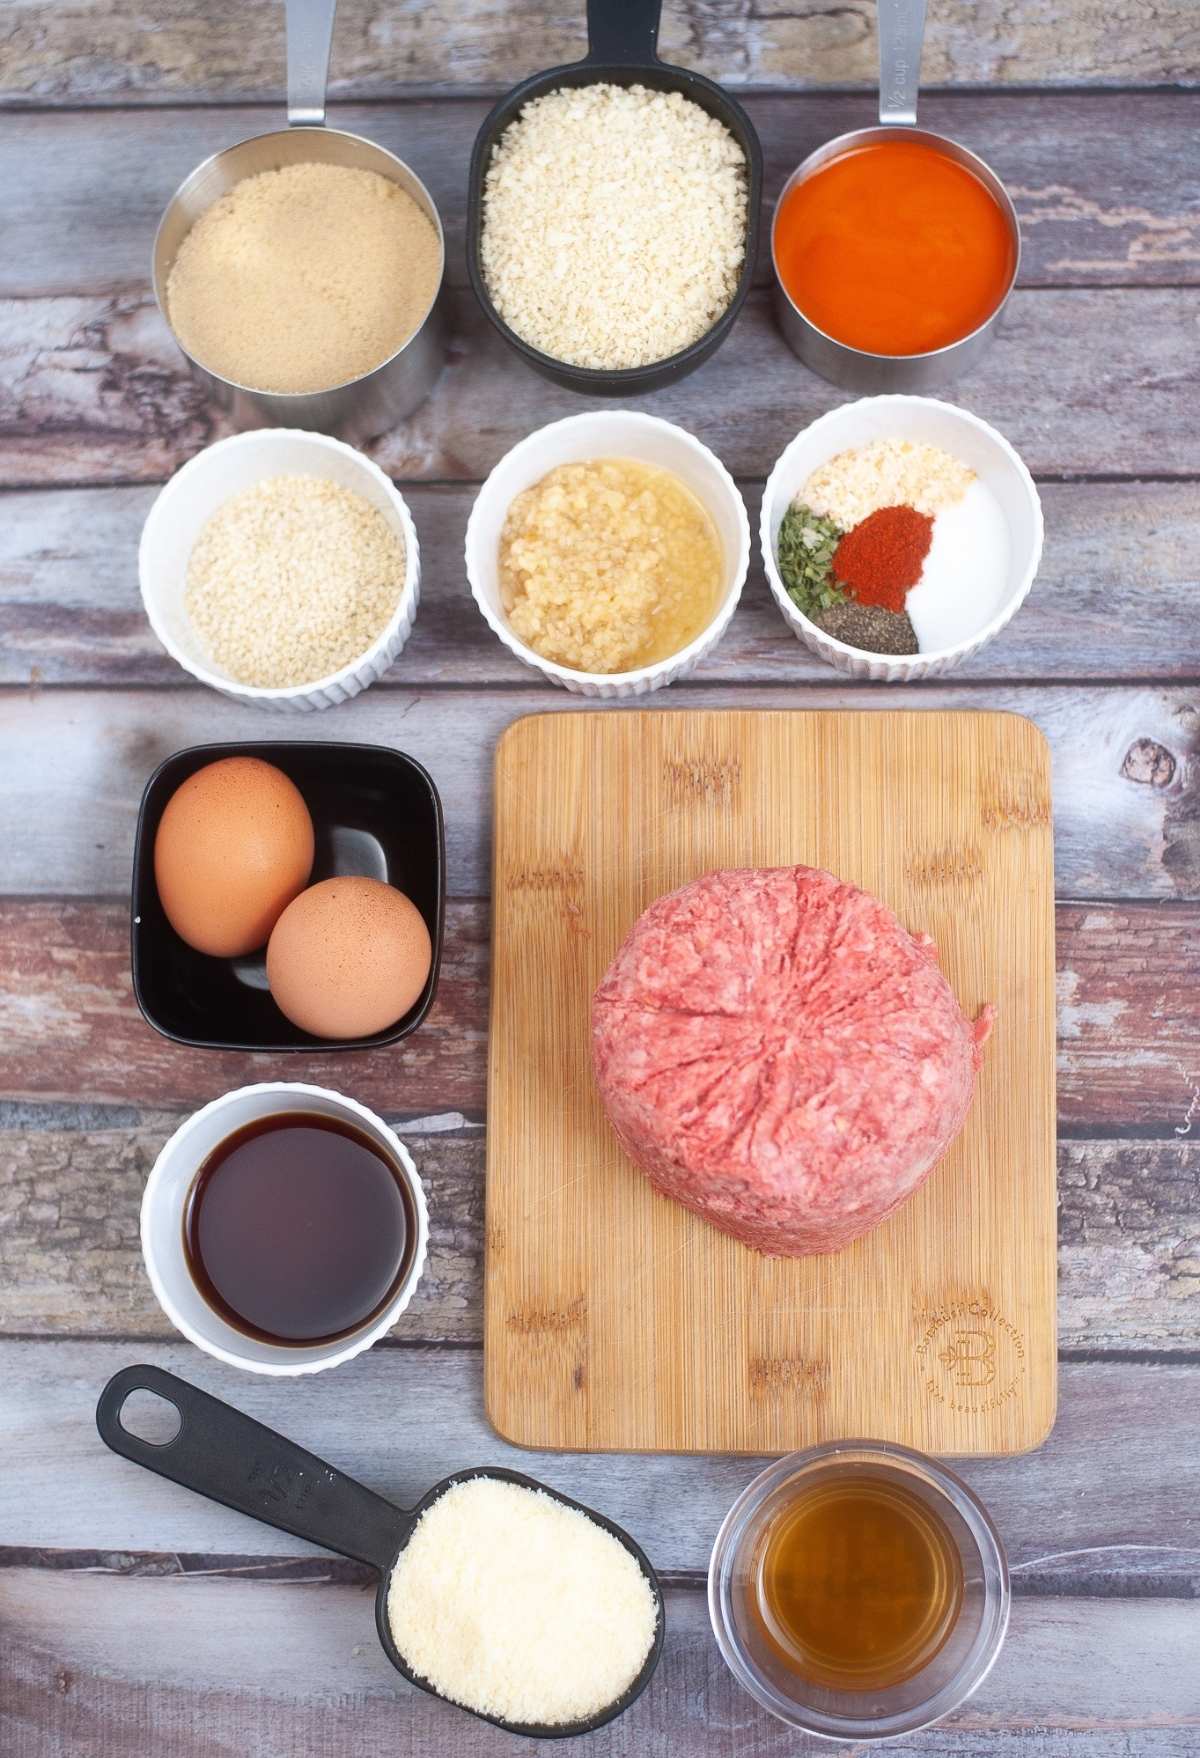
Adding Breadcrumbs Until the Mixture Feels Firm
A soft mixture can tempt a cook to keep adding breadcrumbs. The result may become easier to roll but denser to eat.
In recipe testing for Serious Eats, Daniel Gritzer found that a soaked fresh-bread mixture produced lighter meatballs than dried breadcrumbs.
Dried breadcrumbs can still work well in recipes designed for them. The key is measuring the amount instead of adding more until the mixture feels sturdy.
Follow any soaking instructions before deciding an adjustment is necessary.
Fresh bread and dry crumbs aren’t interchangeable just because two portions look similar in size. If you switch between them, use the recipe quantities for the one you choose.
Aim for a mixture that holds together, not one that feels like firm dough.
Squeezing Every Portion Into a Hard Ball
Shaping should hold the mixture together without becoming another extended mixing session.
Repeated squeezing and rolling add handling after you’ve already combined the ingredients. For a softer style, aim for cohesive meatballs rather than tightly polished spheres.
Divide the mixture into approximately equal portions first. Then use only the pressure needed to close obvious gaps and keep each portion together.
A scoop can help with consistency, although the portions may still need brief shaping.
The meatballs should not be so loose that they fall apart. They also don’t need repeated compression once they hold their shape.
Think of shaping as a finishing step: bring each portion together, set it down, and move to the next one.
Confusing Browning With Cooking Through
High heat is not automatically a mistake. A brief sear or broil can be part of a successful meatball recipe.
The problem is treating a browned exterior as proof that the center is finished, or continuing to brown the outside when the recipe calls for another cooking stage.
Follow the intended sequence. If the method uses a short sear followed by simmering, keep those two jobs separate.
Watch broiled meatballs closely because broiler strength varies. A timing estimate is a guide, not a reason to ignore what is happening in the oven.
Consistent portions also help. Widely different sizes can leave smaller meatballs cooking longer than necessary while the largest finish.
Use appearance to judge browning and a thermometer to check the center.
Leaving Them Cooking After They Are Done
More time in sauce does not necessarily mean more tenderness. Sauce coats the meatballs, but it doesn’t protect them from extended cooking.
Follow the recipe’s sequence and check doneness rather than automatically adding a few more minutes.
The USDA’s minimum internal temperature chart specifies 160°F for ground beef, pork, lamb, and veal, and 165°F for ground poultry.
Check the center with a food thermometer. Don’t lower those endpoints for a softer texture; adjust the ingredients and handling instead.
Meatball size, starting temperature, and equipment can affect cooking time. Once the required temperature is reached, don’t leave the batch cooking just because serving time has moved back.
Make the Next Batch Easier to Diagnose
Start with one reliable recipe and keep its proportions intact. Prepare the panade fully, mix evenly, and shape portions consistently.
Then monitor the cooking rather than relying on appearance alone. Browning and doneness are separate checks.
If the batch still disappoints, change one variable next time. A different meat blend, a measured amount of breadcrumbs, or less mixing is easier to evaluate when everything else stays the same.
Tender meatballs rarely depend on one secret ingredient. They come from matching ingredients, handling, and cooking to the result you want.
On your next batch, which small change will you test first: a properly soaked panade, gentler handling, or a more carefully measured cooking endpoint?