Few Halloween treats look as irresistible as a shiny red candy apple, but cracking that beautiful shell instead of sticking to your teeth is another story.
Every autumn, candy apples return to fairs, Halloween parties, and seasonal celebrations, tempting shoppers with their glossy red coating and crisp fruit hidden underneath. They look simple enough to make at home: grab an apple, cook some sugar, dip, and wait. Yet one small mistake can leave you with a sticky coating, cloudy patches, or candy that slides straight off the fruit. The good news? Understanding a few simple tricks can make a remarkable difference.
A Happy Accident Created a Halloween Classic
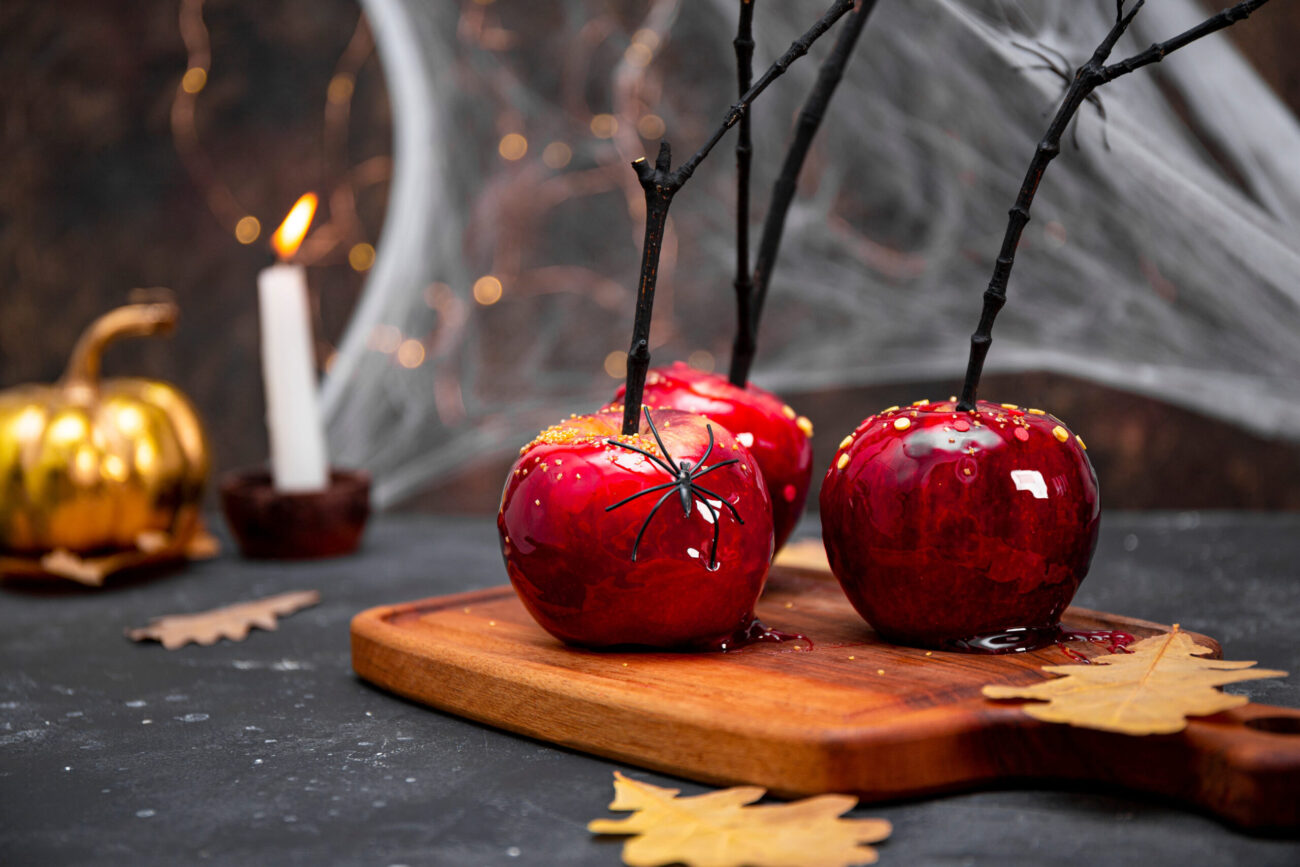
The original candy apple reportedly began as a Christmas experiment, not a Halloween invention.
In 1908, Newark, New Jersey, candy maker William W. Kolb experimented with red cinnamon candy when he dipped apples in the mixture and displayed them in his shop window. Customers liked the glossy fruit so much that they bought the apples themselves. What started as a way to showcase candy became a treat in its own right.
The story is documented by the Library of Congress, which traces the candy apple’s connection to American Halloween traditions. Over time, people associated the bright red apples with autumn festivals, carnivals, and Halloween celebrations. Their dramatic appearance helped them stand out among the season’s pies, doughnuts, and bags of sweets.
Candy Apples and Caramel Apples Are Not the Same
They may look similar on a stick, but biting into one feels very different.
Traditional candy apples have a thin, hard sugar shell that snaps when you bite into it. Caramel apples, by contrast, have a softer, chewy caramel coating. Both can be decorated with nuts, chocolate, or sprinkles, but they differ in texture and preparation.
The classic red coating usually combines sugar, corn syrup, water, and food coloring. Some recipes add cinnamon flavoring, but most people recognize the glossy red appearance immediately. For Halloween, orange, black, purple, and green coatings can give the apples a spooky makeover without changing the basic technique.
The Secret Is Getting the Sugar Temperature Right
A candy thermometer can mean the difference between a beautiful crunchy shell and a batch that refuses to set.
The sugar mixture must reach the hard-crack stage, approximately 300–310°F (149–154°C). At this temperature, enough water has evaporated for the syrup to cool into a firm, brittle coating. If the mixture is too cool, the coating may remain sticky or slide off the fruit; if it becomes too hot, the sugar can darken and develop a burnt flavor.
Martha Stewart’s classic candy apple recipe recommends using a thermometer to monitor the syrup carefully. Once the mixture reaches the right temperature, work efficiently because it thickens as it cools. Molten sugar is extremely hot and can cause serious burns, so keep children away from the saucepan during dipping.
Why the Coating Sometimes Turns Sticky
Even a perfectly cooked batch can disappoint when moisture gets involved.
Sugar readily absorbs moisture from the surrounding air, which can soften a hard candy shell. That is why candy apples can become tacky in humid weather or after being stored in damp conditions. Research on hard candy production also identifies moisture absorption and changes in storage conditions as common causes of stickiness.
The apples themselves matter, too. Wash them thoroughly, remove any waxy residue that could interfere with the coating, and dry them completely before dipping. Even a little surface moisture can prevent the sugar from adhering properly. For a reliable result, prepare the apples and line your baking tray before heating the syrup.
Choose Apples That Can Handle All That Sugar
The best candy apple balances a sweet shell with fruit that stays crisp underneath.
Firm varieties such as Granny Smith, Fuji, and Gala are popular choices because they hold their shape and provide a satisfying bite. Granny Smith apples offer a tart contrast to the intensely sweet coating, while sweeter varieties produce a more dessert-like result. Choose apples with smooth skins and similar sizes so the coating adheres evenly.
Insert sturdy wooden sticks into the stem ends before preparing the syrup. Once the coating is ready, dip each apple, rotate to coat, and let the excess drip back into the pan. Set the finished apples on lightly greased parchment paper and leave them undisturbed until the shells harden.
Give Your Halloween Apples a Creative Twist
A little decoration can turn a traditional red apple into the centerpiece of your Halloween dessert table.
Try orange candy coatings for pumpkin-inspired treats, black coatings for a spooky effect, or a drizzle of contrasting chocolate once the shells have cooled. You can also arrange candy apples alongside homemade sweets for a party spread that looks more elaborate than it really is. When planning a celebration, having versatile ingredients ready makes prep easier, just as keeping pantry staples on hand helps when everyday meal plans change.
Candy apples are best prepared close to serving time because moisture can soften their shells. Store them as your recipe directs, and remember that refrigeration can create condensation that affects the coating.
The real charm of candy apples lies in their mix of nostalgia and spectacle. They take an everyday fruit and turn it into something almost too pretty to eat, if you can resist that first satisfying crunch.
Related: 9 Things You Should Never Do When Handing Out Halloween Candy
Would you stick with the classic glossy red candy apple, or try a spooky black or purple version for Halloween?