The pork chop looks promising in the skillet: browned edges, sizzling fat, and a crust that suggests dinner is going well. Then the knife meets a dry, stubborn center.
The problem is that browning the outside and cooking the middle are two different jobs. A skillet can develop a crust while the interior is still cooking. Leave the chop there too long, however, and the meat loses moisture as its muscle proteins tighten.
Better results come less from finding one perfect cooking time than from managing thickness, surface moisture, and heat. These six mistakes explain where the process often goes wronghttps://unclejoliving.com/the-3pm-crash-is-lying-to-you/.
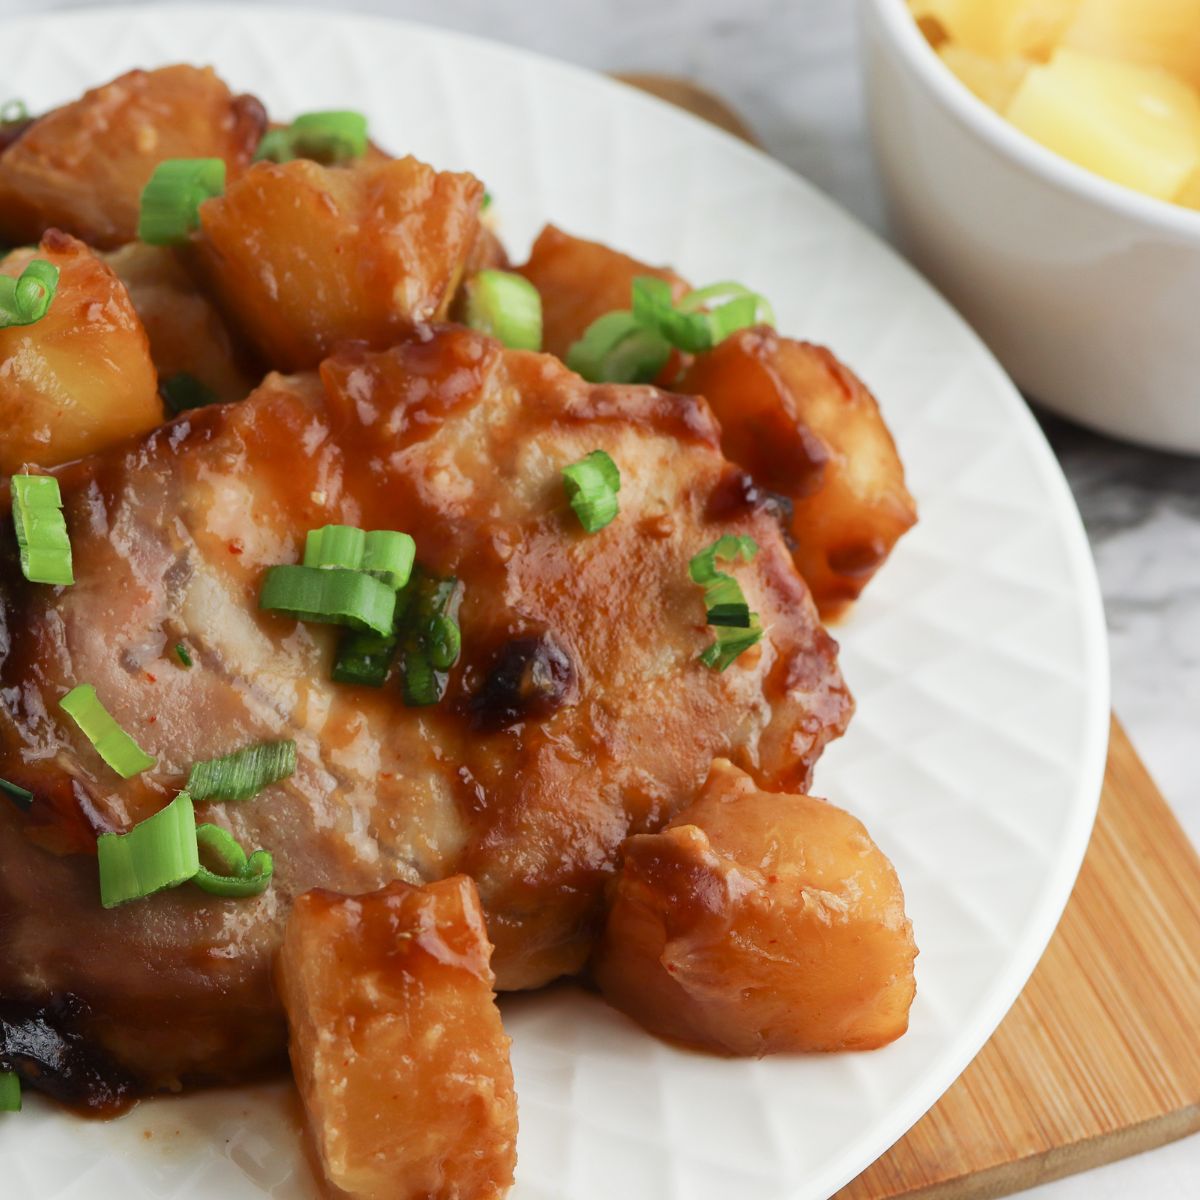
Choosing Thin Chops for a Thick-Chop Method
Thin chops are not inherently bad. They offer less time to develop a substantial crust before the center finishes cooking.
In its testing, America’s Test Kitchen found that thicker chops provide a wider window for browning without overcooking the interior. Its tested method used chops at least 1½ inches thick.
J. Kenji López-Alt also recommends 1½-inch chops for his seared preparation. That thickness is a technique choice, not a requirement for every pork chop.
The fix: Match the method to the meat. For a deep sear, choose evenly thick chops and a recipe designed for that thickness. If you already have thin chops, do not keep cooking them merely to reproduce the crust pictured on a much thicker cut.
Putting a Wet Surface Into the Pan
Surface water competes with browning.
Before a wet chop can develop a crust, that moisture must evaporate. López-Alt’s Serious Eats explanation of pork-chop technique shows how excess surface moisture can delay browning, extending the time meat spends over heat.
The fix: Pat the chops dry with paper towels immediately before cooking.
For cooks planning, dry-brining is another option. López-Alt describes salting the meat and refrigerating it uncovered overnight to improve moisture retention while drying the exterior. Keep the chops refrigerated during that process.
Do not confuse a dry surface with a dry interior. The goal is removing water that interferes with browning, not cooking moisture out of the meat.
Treating High Heat as the Entire Cooking Plan
A hot pan helps create a crust. It doesn’t guarantee the center will finish at the right moment.
Browning requires a much hotter surface than the internal temperature needed to cook a pork chop. Balancing those two goals is the central challenge of searing.
The fix: For a conventional stovetop sear, begin with a thoroughly preheated, heavy skillet and a thin layer of oil. Medium-high is a good starting point for many setups, but it isn’t universal. Burner output, cookware, and chop thickness all affect the result.
Watch the meat. If the exterior darkens too quickly while the center stays below target, reduce the heat instead of continuing to scorch the surface.
A reverse-sear recipe offers another approach for thick chops: cook gently in the oven first, then sear briefly in a skillet. That separates much of the interior cooking from crust development.
Related: 10 American Foods That Make Visitors Scratch Their Heads- But Many Americans Still Love
Believing the Chop Must Stay Untouched Until It Is Done
One long sear on each side is not the only route to browning.
In America’s Test Kitchen’s thick-cut pork-chop testing, turning the chops every two minutes reduced the overcooked layer beneath the surface compared with its earlier approach.
The fix: Do not treat flipping as a mistake. Periodic turning can help manage how heat reaches the meat while both surfaces brown.
That does not make two minutes a universal schedule. A thin chop may require attention sooner than a thick one. Use the crust’s appearance alongside internal temperature, rather than assuming the first side must stay in the skillet for a set amount of time.
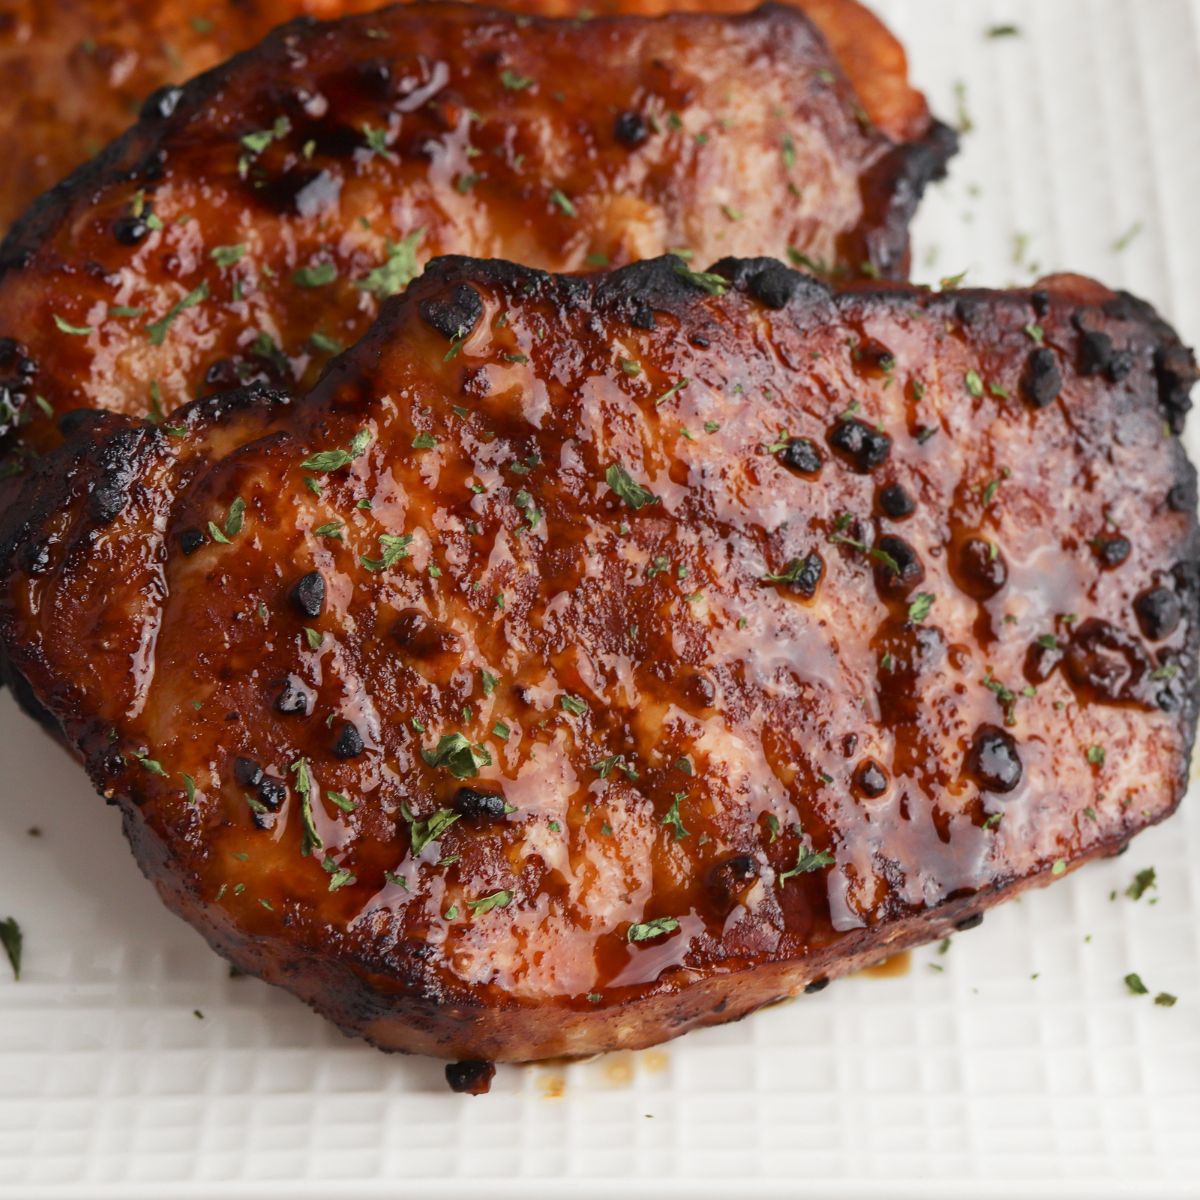
Judging Doneness by the Crust or the Clock
A golden exterior tells you about the surface. It does not measure the center.
The USDA’s guidance for cooking whole cuts of pork recommends an internal temperature of 145°F before removing the meat from the heat, followed by a three-minute rest. Its guidance distinguishes whole cuts from ground pork, which requires 160°F.
The fix: Use a food thermometer. Place it in the thickest part of the chop, avoiding bone, fat, and gristle. Start checking before you expect the meat to be finished.
This article does not recommend removing chops below 145°F and assuming they will reach that temperature later. Although carryover cooking can raise the temperature after removal, it shouldn’t replace following the stated USDA endpoint.
Cutting Immediately or Treating Resting as Optional
Once the chop reaches its target, dinner still needs a short pause.
USDA includes at least three minutes of resting in its time-and-temperature recommendation for whole pork cuts. During that period, the meat’s temperature stays the same or keeps rising.
The fix: Transfer the chops to a clean plate or rack and wait at least three minutes before cutting or eating.
Resting cannot reverse overcooking. A chop cooked well past its target will not regain lost moisture just because it sits longer. The pause belongs at the end of a controlled cooking process, not as a rescue plan.
Better Chops Come From Better Checkpoints
The useful sequence is straightforward: choose a suitable thickness, dry the surface, manage the heat, and check the center with a thermometer. Once the chop reaches 145°F, remove it from the heat and let it rest.
A browned crust and a moist interior are separate goals, but they do not have to compete unchecked. Which would make the bigger difference in your kitchen: choosing a thicker chop or checking its temperature before it looks finished?