You peel the squash, wrestle it into cubes, and slide the tray into the oven. Half an hour later, dinner’s autumn-colored side dish looks promising until the spatula reveals a soft, pale pile.
The problem is not necessarily the squash. Roasting needs the outside to brown while the center becomes tender. When moisture lingers around the pieces, or the interiors finish cooking before the surfaces develop color, the result can feel closer to steamed squash.
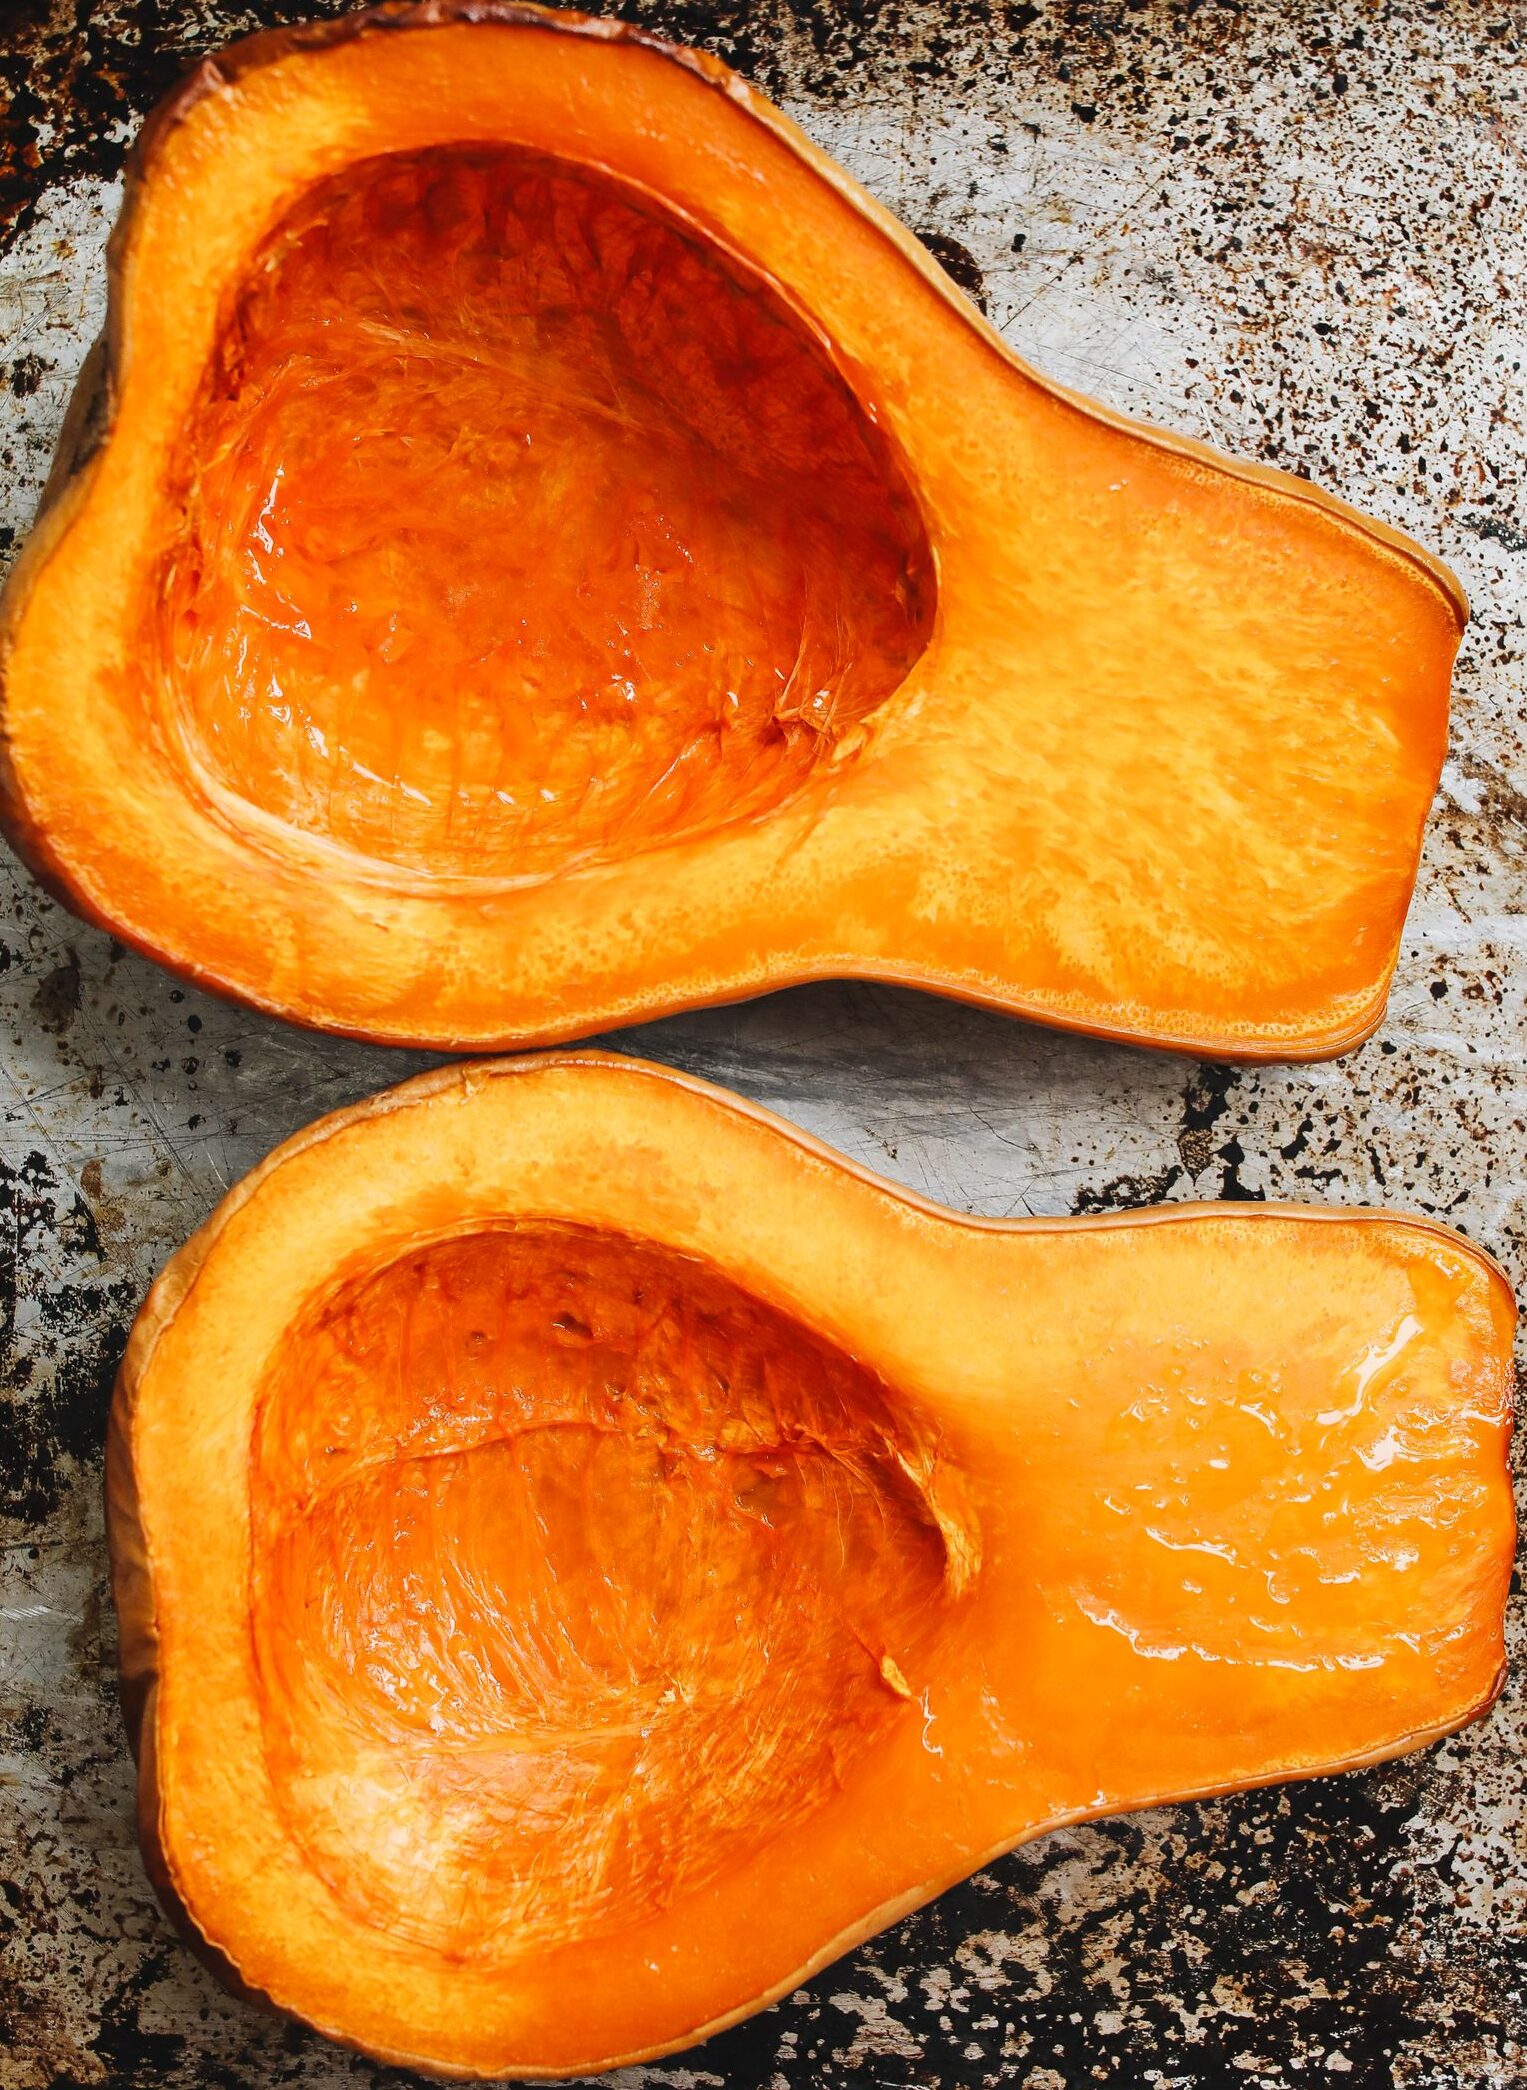
A good batch does not need to resemble a tray of crunchy potatoes. Butternut squash naturally has a soft interior. The goal is contrast: browned surfaces, recognizable pieces, and a center that yields without collapsing.
Getting there usually means paying closer attention to spacing, size, and timing rather than adding another ingredient.
Crowding the Baking Sheet
A tray that looks comfortably full before roasting can become a poor place for browning once the squash releases moisture.
When pieces overlap or sit tightly packed together, moisture has less room to escape. The squash can soften without developing the browned surfaces you wanted.
Arrange the cubes in one layer with visible space between them. If that means using two baking sheets, use two rather than forcing everything onto one.
Recipe developer Erin Clarke makes spacing central to her roasted butternut squash method, dividing the squash between two trays and discarding excess liquid left in the mixing bowl.
When roasting on two racks, switch the pans’ positions partway through cooking. That helps both trays encounter different parts of the oven instead of leaving one in the same position throughout.
Cutting Pieces That Cook at Different Speeds
A thin sliver and a chunky cube cannot be expected to finish together.
The smaller piece may already be soft while the larger one still needs time. Waiting for the biggest chunks can push the little pieces beyond tender and into mash.
Aim for roughly 1-inch pieces, keeping thicknesses similar even when shapes differ. The curved flesh around the seed cavity will not produce perfect cubes, and that is fine.
Jeanine Donofrio’s simple roasted butternut squash preparation emphasizes even cutting for this reason. Consistency matters more than making every piece geometrically identical.
Give precut squash the same inspection. Trim unusually large chunks, and separate very small pieces if they would otherwise spend the entire roasting time beside much larger ones.
A little knife work helps make the cooking window more manageable.
Related: 15 Foods From the ’60s Most Boomers Loved With a Passion
Overlooking the Pan and Its Contact With the Squash
A hot oven matters, but the surface underneath the squash matters, too.
Use a sturdy, shallow, rimmed baking sheet that lets you spread the pieces out. A deep dish packed with squash works against the open arrangement this roasting style needs.
Preheating an empty metal baking sheet can give vegetables an immediate hot surface. However, it is an option, not a requirement for successful butternut squash.
You can still get browned edges without preheating the baking sheet.
For deeper browning, a lightly oiled, unlined metal sheet is another option. Serious Eats’ vegetable-roasting guidance favors direct contact with metal over parchment when maximum browning is the priority.
Parchment remains an option for easier cleanup. Direct contact with metal is worth trying when deeper browning is the priority.
Using Gentle Heat When You Want Browned Edges
A low oven may soften the squash without producing the surface color you expected in the same amount of time.
That is especially frustrating when the tray is sharing an oven with another dish. The squash may become tender while you continue waiting for golden edges.
For roughly 1-inch cubes, 400°F is a practical starting point. Donofrio’s method calls for about 30 to 35 minutes; Clarke’s takes about 25 to 30 minutes, with a turn halfway through.
Those ranges are guides, not guarantees. Differences in the squash, pan, quantity, and oven can change the timing.
Check for both tenderness and color. A fork sliding into the center tells you something useful, but it does not tell you whether the underside has browned.
Related: 20 Odd American Traditions That Confuse the Rest of the World
Leaving Excess Liquid on the Tray
Oil and watery liquid do different jobs. A light, even coating of oil helps the squash contact the pan; adding more and more is not a reliable shortcut to browning.
Toss the pieces thoroughly so the coating reaches all sides. The aim is a sheen, not a tray with puddles around the cubes.
If the cut squash is visibly wet, blot it before seasoning. Leave excess dressing or liquid behind in the mixing bowl.
Glaze needs a little nuance. Maple syrup does not automatically belong at the end: Clarke’s recipe adds a measured amount before roasting and still produces browned squash.
The useful distinction is between a light coating and an excessively wet mixture. When troubleshooting, start with oil, salt, and pepper, then add a glaze once the basic method works.
Stirring Before the Surfaces Have Time to Brown
Opening the oven every few minutes to shuffle the cubes can work against the result you want.
The pieces need uninterrupted contact with the hot pan to develop color. Constant movement interrupts that contact and adds unnecessary handling as they soften.
Let the squash roast before reaching for the spatula. Turning around the midpoint is a reasonable approach, rather than stirring repeatedly from the start.
Use a broad spatula and lift gently. Scraping and tossing increasingly tender cubes can break them apart even when the roasting conditions are otherwise sound.
When turning, check the bottom of a few pieces. If the tops look pale but the undersides are golden, the pan is doing useful work. The entire cube does not need uniform color.
A Straightforward Method to Try
Begin with fresh butternut squash, peeled, seeded, and cut into roughly 1-inch pieces.
Preheat the oven to 400°F. Toss the squash with enough olive oil to coat it lightly, then season with salt and pepper.
Spread the pieces across one or two shallow baking sheets without overlapping. Roast for about 30 to 35 minutes, turning carefully around the midpoint and starting to check before the end of that range.
Remove the squash when the edges have browned, and the centers are tender. Do not keep cooking simply to satisfy the clock if the smaller pieces are already done.
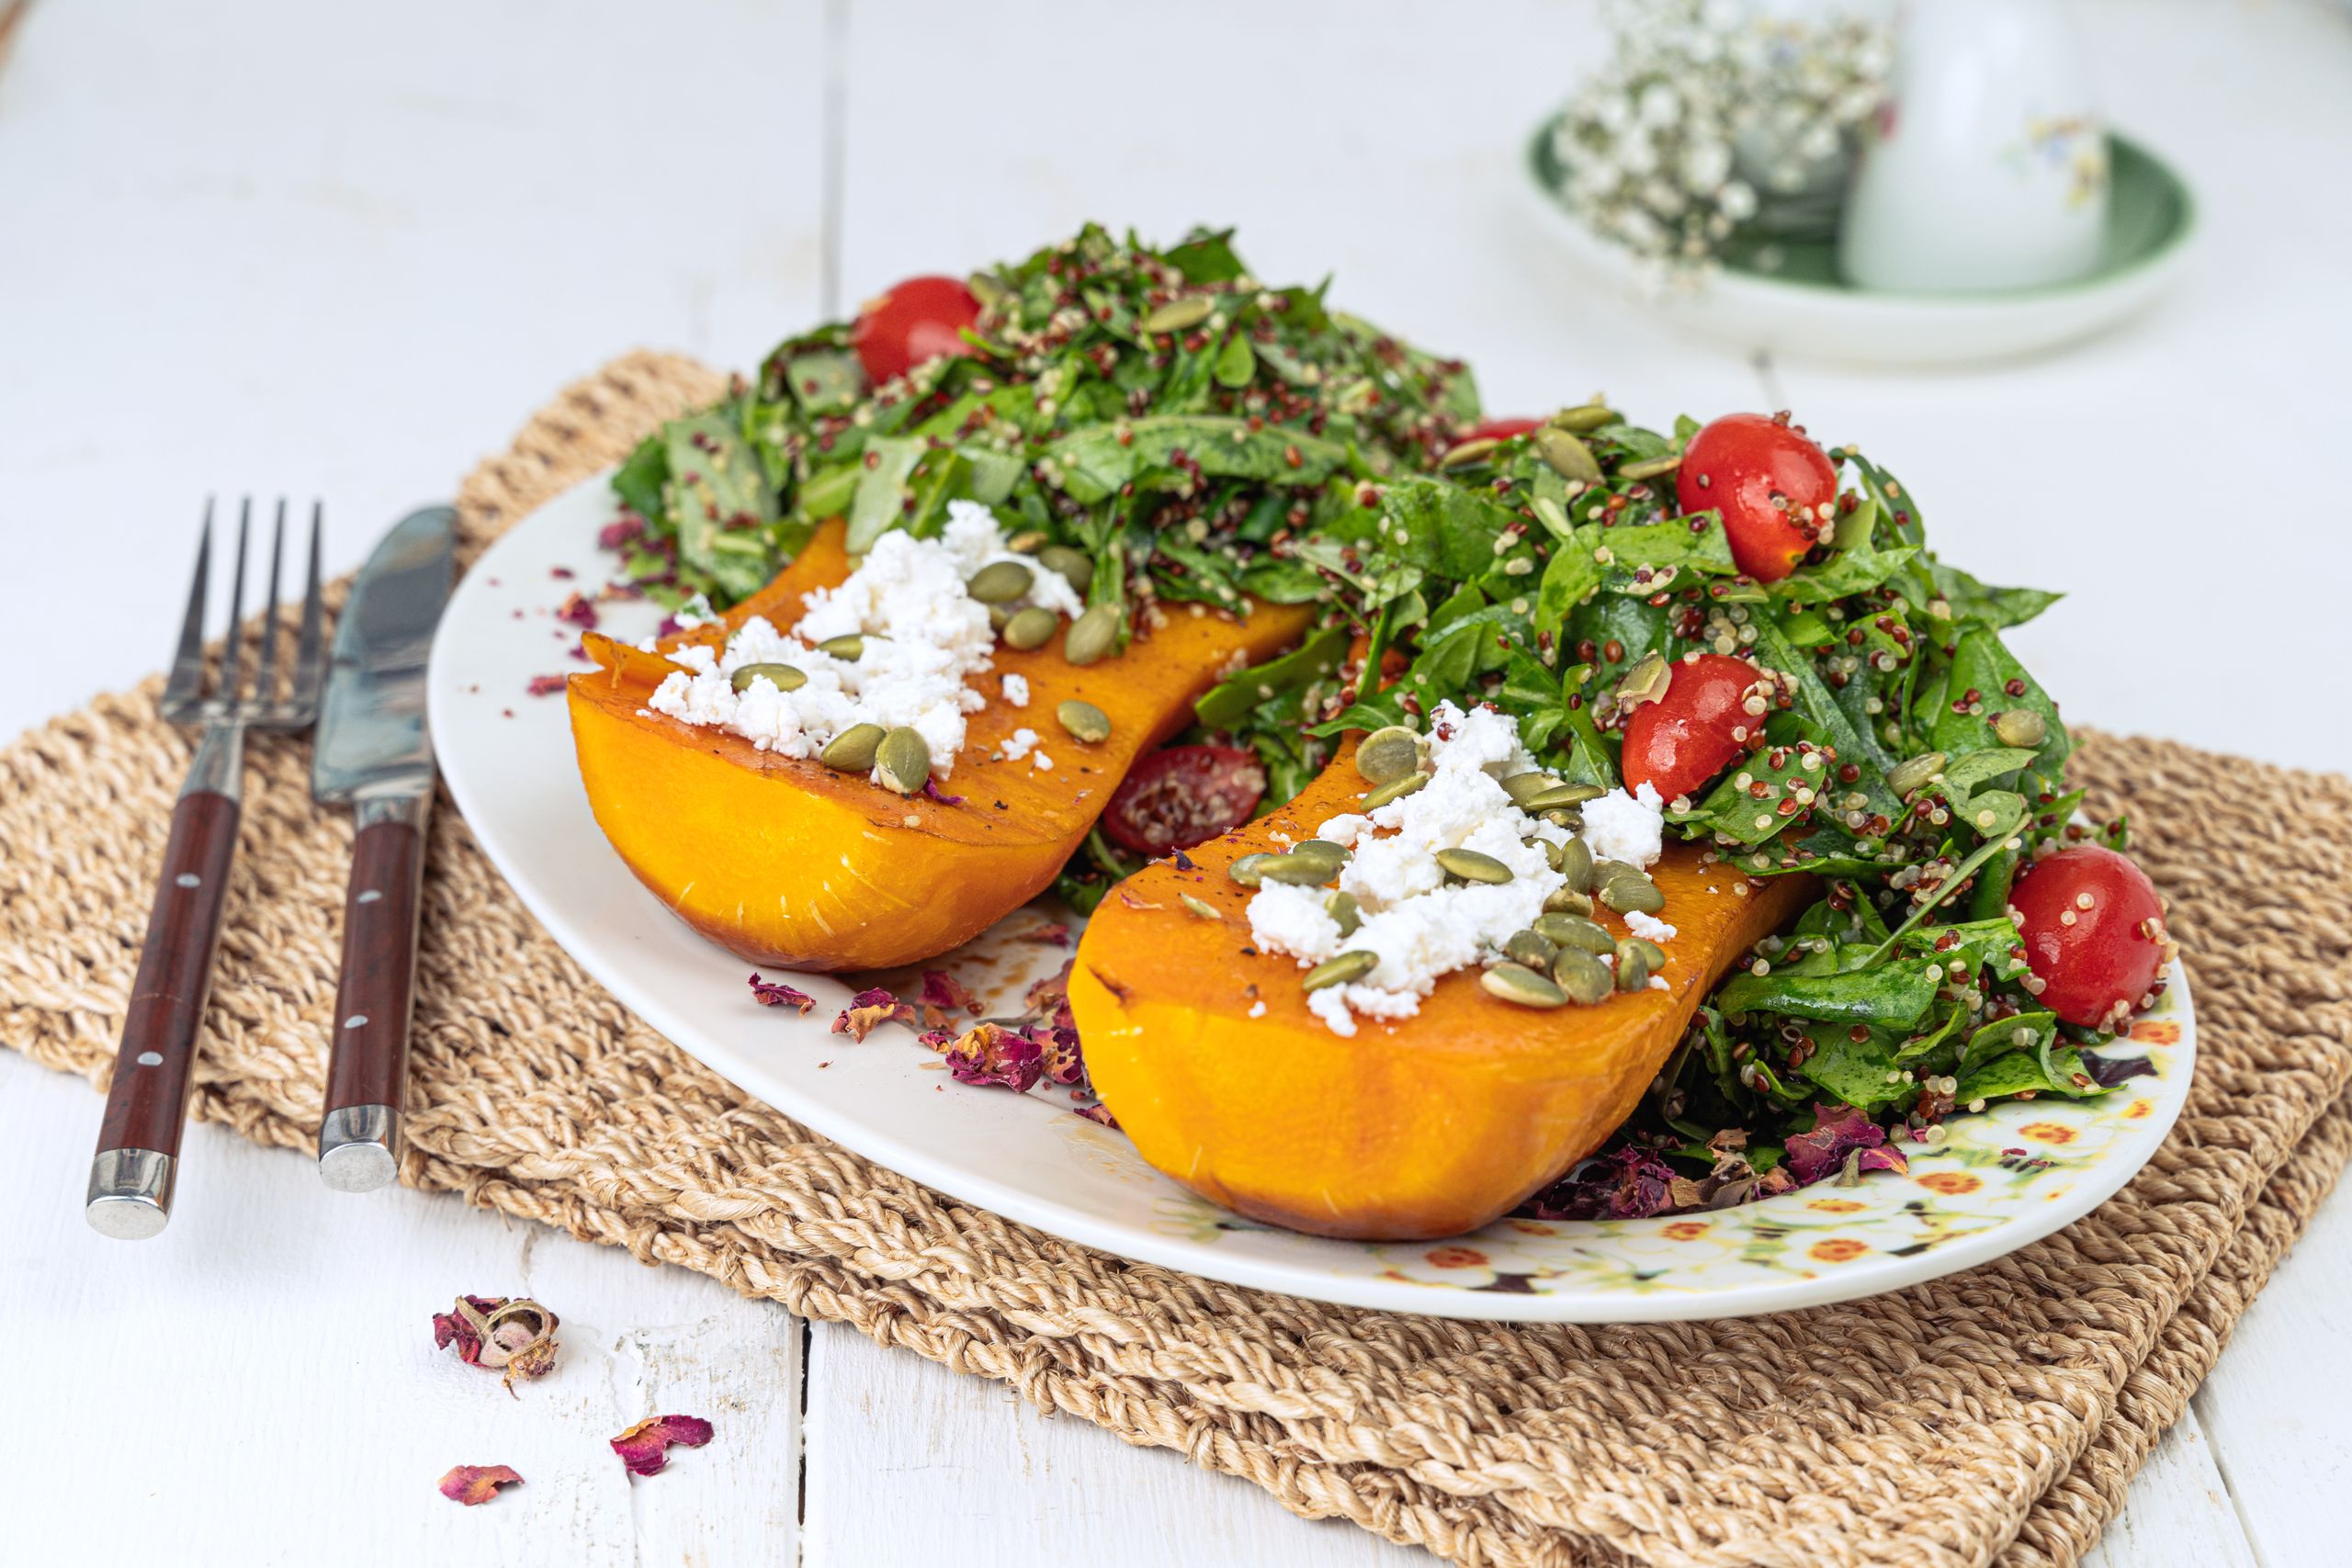
Serve it alongside roast chicken, fold it gently into a grain bowl or add it to a salad. Introduce dressings and other wet accompaniments when assembling the finished dish rather than using them to flood the roasting tray.
If the last batch disappointed you, change one variable first: give the squash more space, cut it more evenly, or leave it undisturbed longer. Wouldn’t it be satisfying if the best improvement to a favorite fall side came from doing a little less?