A good roast can turn an ordinary meal into something special. Whether you’re preparing roast beef for Sunday dinner, a whole chicken for the family, or a pork roast for a holiday gathering, the goal is the same: tender meat, rich flavor, a beautifully browned outside, and enough leftovers to enjoy another day.
But getting the most out of a roast takes more than putting meat in the oven and waiting. A few simple techniques can make a noticeable difference, from choosing the right cut to seasoning it properly and knowing when to take it out of the oven.
The best part? You don’t need expensive equipment or complicated cooking skills to make your roast taste better.
Start With the Right Cut of Meat
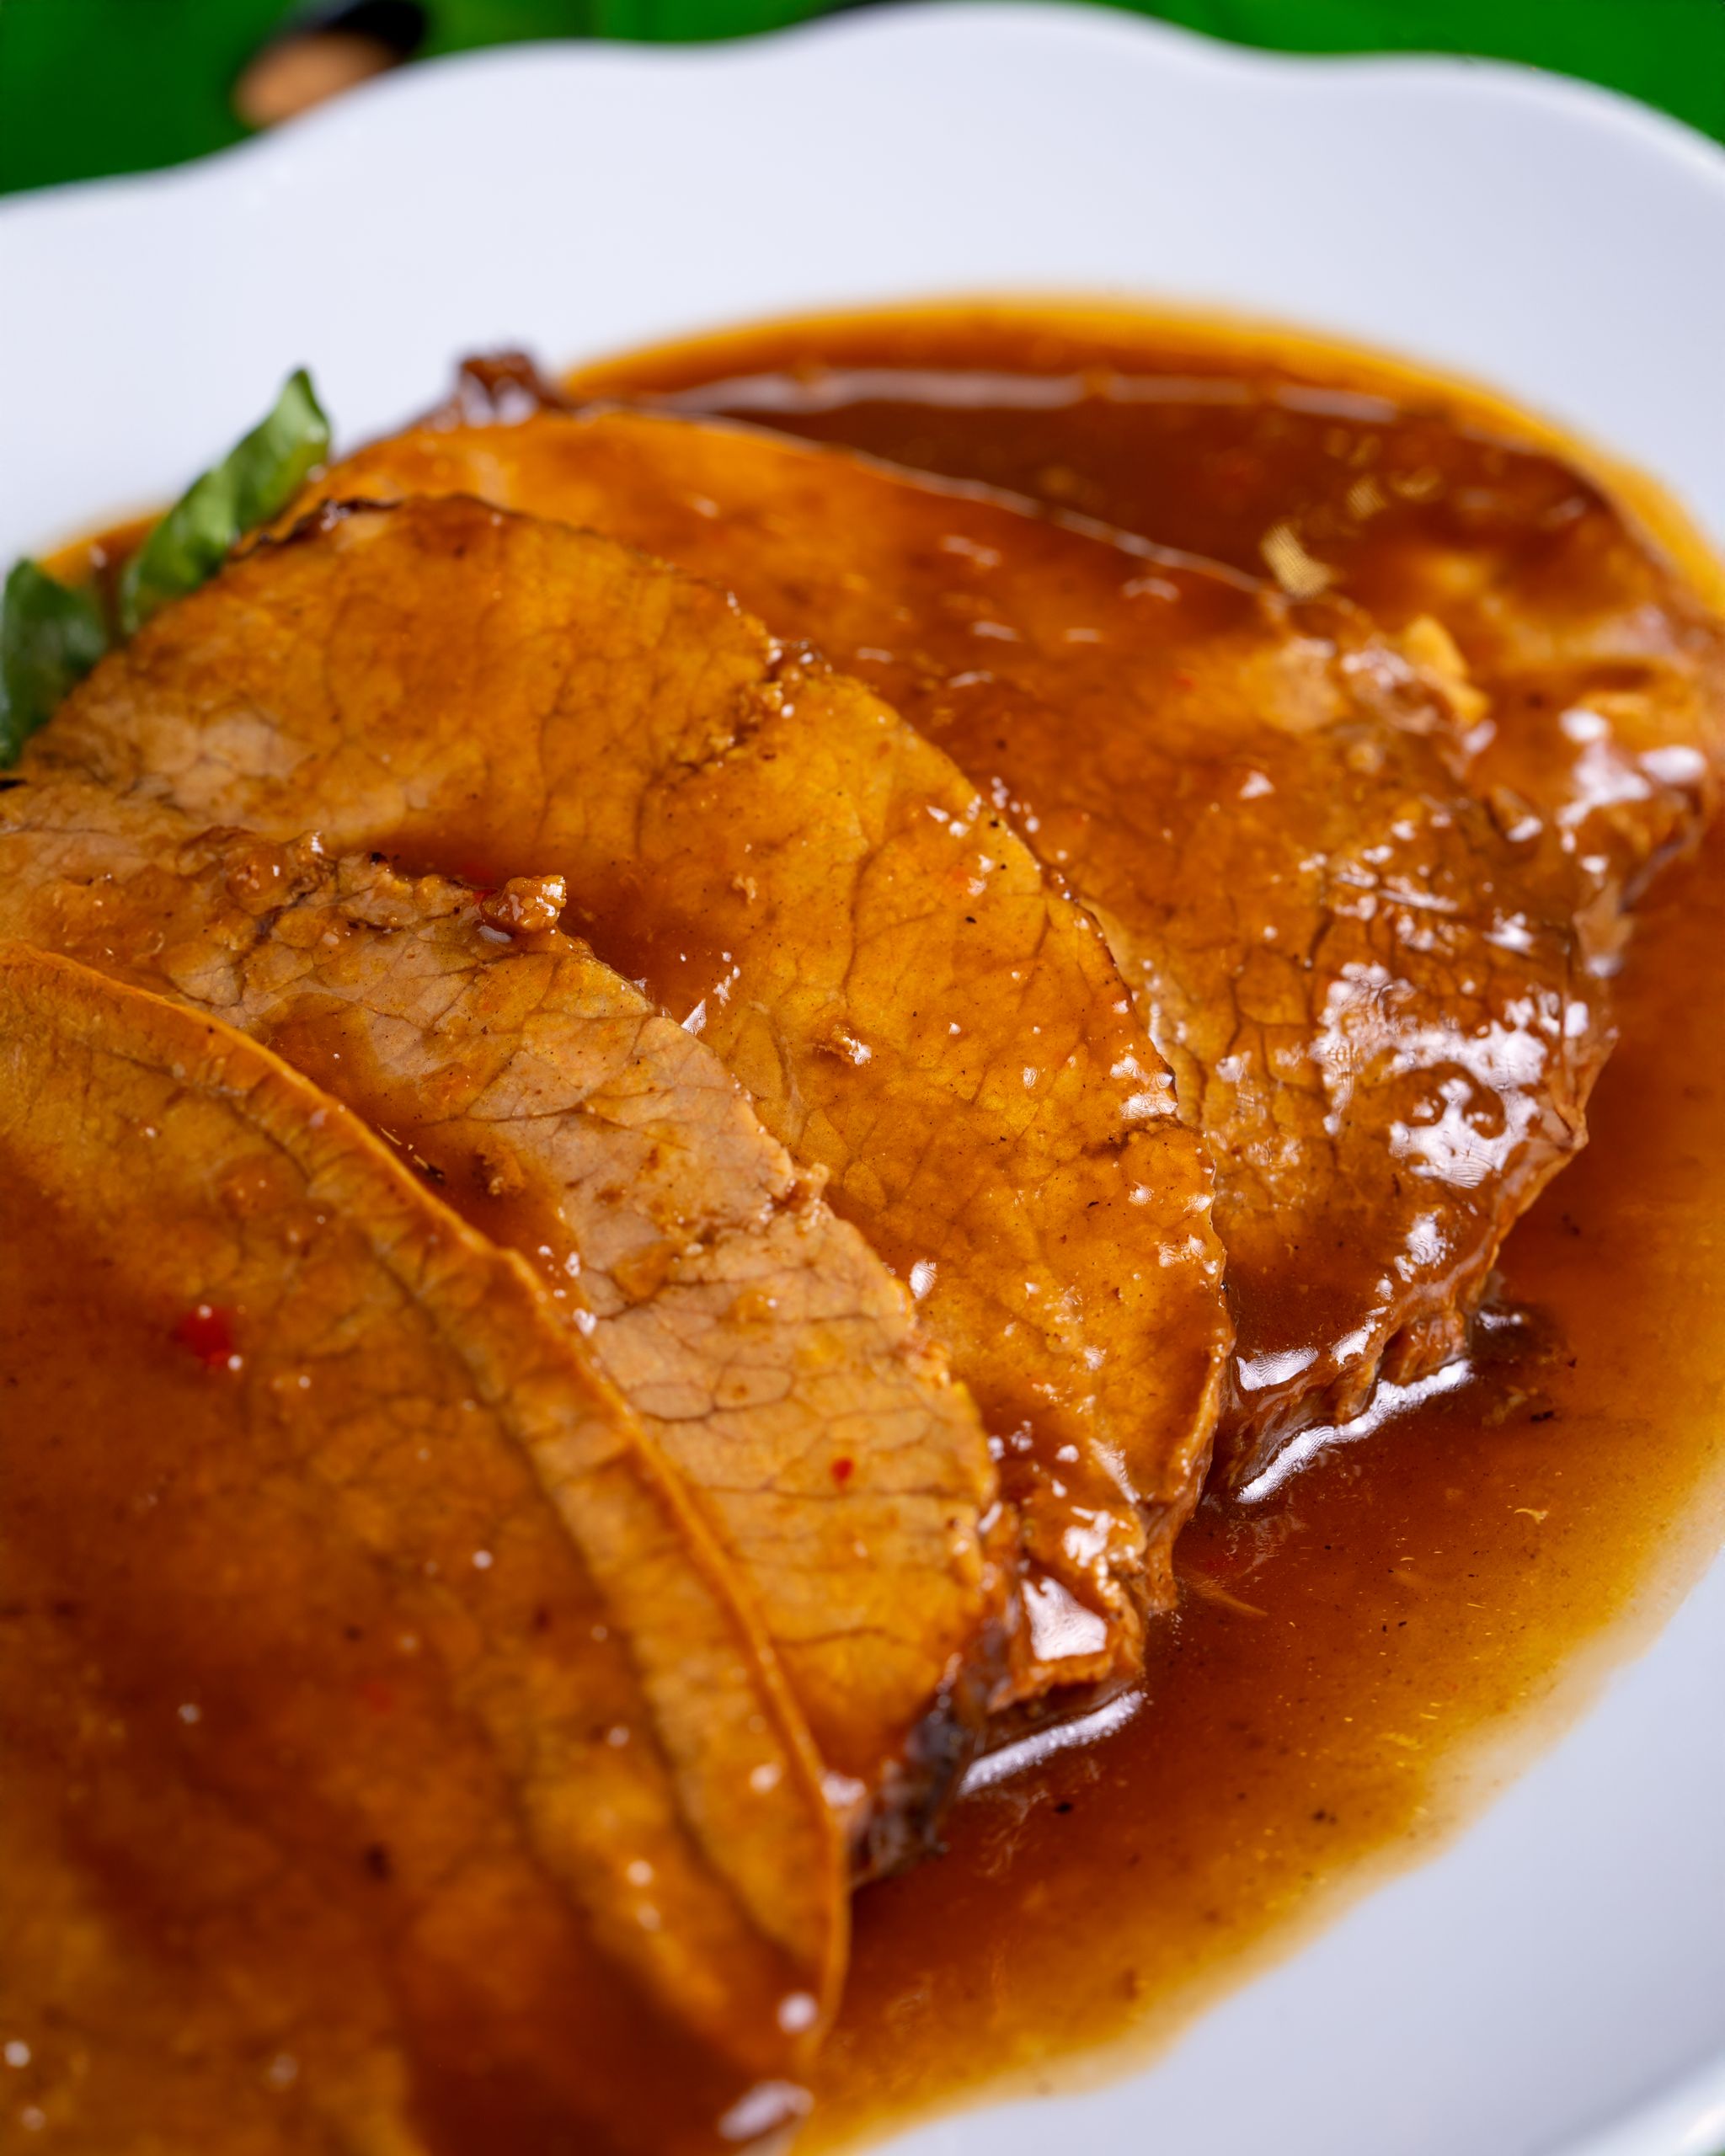
One of the biggest secrets to a successful roast is choosing the right cut. Different cuts of meat respond differently to heat, so knowing what you’re buying can save you from a dry or tough dinner.
For beef, rib roast and tenderloin are popular choices when you want something tender and suitable for special occasions. Chuck roast, on the other hand, contains more connective tissue and works beautifully with slower cooking methods.
For pork, shoulder is a good option for slow roasting, while pork loin is leaner and benefits from careful temperature control to prevent it from drying out.
Whole chickens are another practical choice because they offer several portions and can provide leftovers for sandwiches, soups, and salads.
Don’t Skip the Seasoning
A roast needs more than a quick sprinkle of salt before it goes into the oven. Proper seasoning brings out the meat’s natural flavor.
Salt and black pepper are a good starting point. From there, you can add garlic, rosemary, thyme, paprika, onion powder, or other herbs and spices that complement your chosen meat.
If you have enough time, season the meat several hours before cooking or leave it covered in the refrigerator overnight. This gives the salt more time to work into the meat’s surface.
You can also rub the outside with a little olive oil before adding herbs and spices. This helps the seasoning stick and encourages a flavorful, browned exterior.
Bring the Meat to Room Temperature Before Cooking
Taking meat out of the refrigerator shortly before cooking can help it cook more evenly. A very cold roast may heat unevenly, leaving the outside overcooked before the center reaches the desired temperature.
You don’t need to leave it sitting on the counter for hours. Keep food safety in mind and avoid leaving raw meat at room temperature for extended periods.
Pat the surface dry with paper towels before seasoning. Removing excess moisture helps the outside brown instead of steaming.
Give It a Good Sear
For a roast with a delicious crust, consider browning it before putting it in the oven.
Heat a little oil in a large skillet and brown the meat on all sides. This creates a flavorful exterior that adds another layer of taste to the finished dish.
Searing also leaves those lovely browned bits in the pan. You can use them later to make gravy or a simple pan sauce.
Remember that browning does not seal in the juices. Its main purpose is to develop flavor and color.
Use a Meat Thermometer Instead of Guessing
One of the easiest ways to ruin a roast is to leave it in the oven too long.
Cooking times can vary depending on the size, shape, cut, and thickness of the meat. Even two roasts with the same weight may finish cooking at different times.
A meat thermometer takes much of the guesswork out of the process.
According to the USDA, whole cuts of beef, pork, lamb, and veal should reach an internal temperature of 145°F, then rest for at least three minutes. Poultry, including whole chicken and turkey, should reach 165°F.
For more details, see the USDA’s safe minimum internal temperature guidelines.
Insert the thermometer into the thickest part of the meat without touching the bone. This gives you a more reliable reading than judging doneness by color or cooking time alone.
Let the Roast Rest Before Carving
It’s tempting to start slicing as soon as the roast comes out of the oven, especially when everyone is waiting around the dinner table.
However, the wait is worth it.
Resting allows the meat to settle after cooking and makes carving easier. It also helps reduce the amount of juice that escapes when you cut into it.
Place the roast on a cutting board and loosely cover it with foil. Rest time depends on the size and type of roast, but follow the USDA’s minimum three-minute rest requirement for whole cuts of beef, pork, lamb, and veal.
Use the waiting time to prepare your gravy, finish the vegetables, or set the table.
Make the Most of the Pan Drippings
Don’t pour those flavorful juices down the sink!
The liquid and browned bits left in the roasting pan can become the foundation for a delicious gravy or sauce.
Place the roasting pan over medium heat, if your stovetop allows, or transfer the drippings to a saucepan. Add a little broth and scrape up the browned bits. You can thicken the mixture with a flour or cornstarch slurry, then season it with salt and pepper.
For extra flavor, add garlic, thyme, rosemary, or a small amount of butter.
If you prefer something lighter, spoon the warm pan juices over slices of meat before serving.
Roast Vegetables Alongside the Meat
A roast doesn’t have to be the only star of the meal. Vegetables can make the dish more colorful, filling, and flavorful.
Potatoes, carrots, onions, parsnips, and Brussels sprouts are popular choices. Toss them with olive oil, salt, pepper, and herbs before roasting.
If you’re cooking vegetables in the same pan as the meat, consider their cooking times. Some vegetables need longer than others, so add them at different stages rather than putting everything in at once.
The vegetables can also absorb some of the delicious flavors from the meat and its drippings.
For a simple family dinner, serve the roast with roasted potatoes, carrots, and a generous spoonful of homemade gravy.
Slice It the Right Way
How you carve a roast can make a difference in how tender each serving feels.
For cuts with visible muscle fibers, look for the direction in which those fibers run. Slice across them rather than following their length.
This is known as cutting against the grain. It shortens the muscle fibers, making each bite easier to chew.
Use a sharp carving knife and make even slices. For a large family gathering, you can also carve only what you need and keep the remaining roast intact until more servings are required.
Turn Leftovers Into Another Meal
One of the best things about making a roast is having enough food for another day.
Instead of serving the same plate again and again, find creative ways to use the leftovers.
Here are a few easy ideas:
- Roast beef sandwiches: Layer thin slices of leftover beef with cheese, lettuce, onions, and your favorite sauce.
- Chicken salad: Shred leftover roast chicken and mix it with mayonnaise, celery, and a little black pepper.
- Meat and vegetable soup: Add leftover roast meat, carrots, potatoes, and other vegetables to a pot of broth.
- Roast meat tacos: Chop leftover beef or pork and serve it in warm tortillas with salsa and fresh vegetables.
- Breakfast hash: Dice leftover meat and potatoes, then fry them with onions and peppers for a hearty breakfast.
Store leftovers in shallow containers and refrigerate them within two hours of cooking. The USDA recommends using refrigerated cooked leftovers within three to four days or freezing them for longer storage.
When reheating, make sure leftovers reach 165°F.
A Little Planning Goes a Long Way
Getting the most from your roast doesn’t require a complicated recipe or a professional kitchen. Choosing the right cut, seasoning properly, monitoring the temperature, and allowing enough resting time can make an ordinary roast much more enjoyable.
And remember, the meal doesn’t have to end when dinner is over. With a little creativity, those leftovers can become sandwiches, soups, tacos, and other easy meals throughout the week.
Sometimes, the secret to a great roast is knowing how to make every part of it count.