Few kitchen frustrations are as annoying as peeling a hard-boiled egg and watching half the white come off with the shell. You start with a perfectly cooked egg, only to end up with a rough, crater-filled mess that looks nothing like the smooth eggs you see in recipe photos. Fortunately, there is a simple cooking technique that can make the job much easier: the 10-5-10 method.
The name refers to three timed steps: 10 minutes of boiling, 5 minutes of resting, and another 10 minutes in cold water. The technique gives the eggs time to cook, settle, and cool before you start peeling them. It is particularly useful when preparing several eggs for breakfast, salads, sandwiches, or meal prep.
What Exactly Is the 10-5-10 Egg Method?
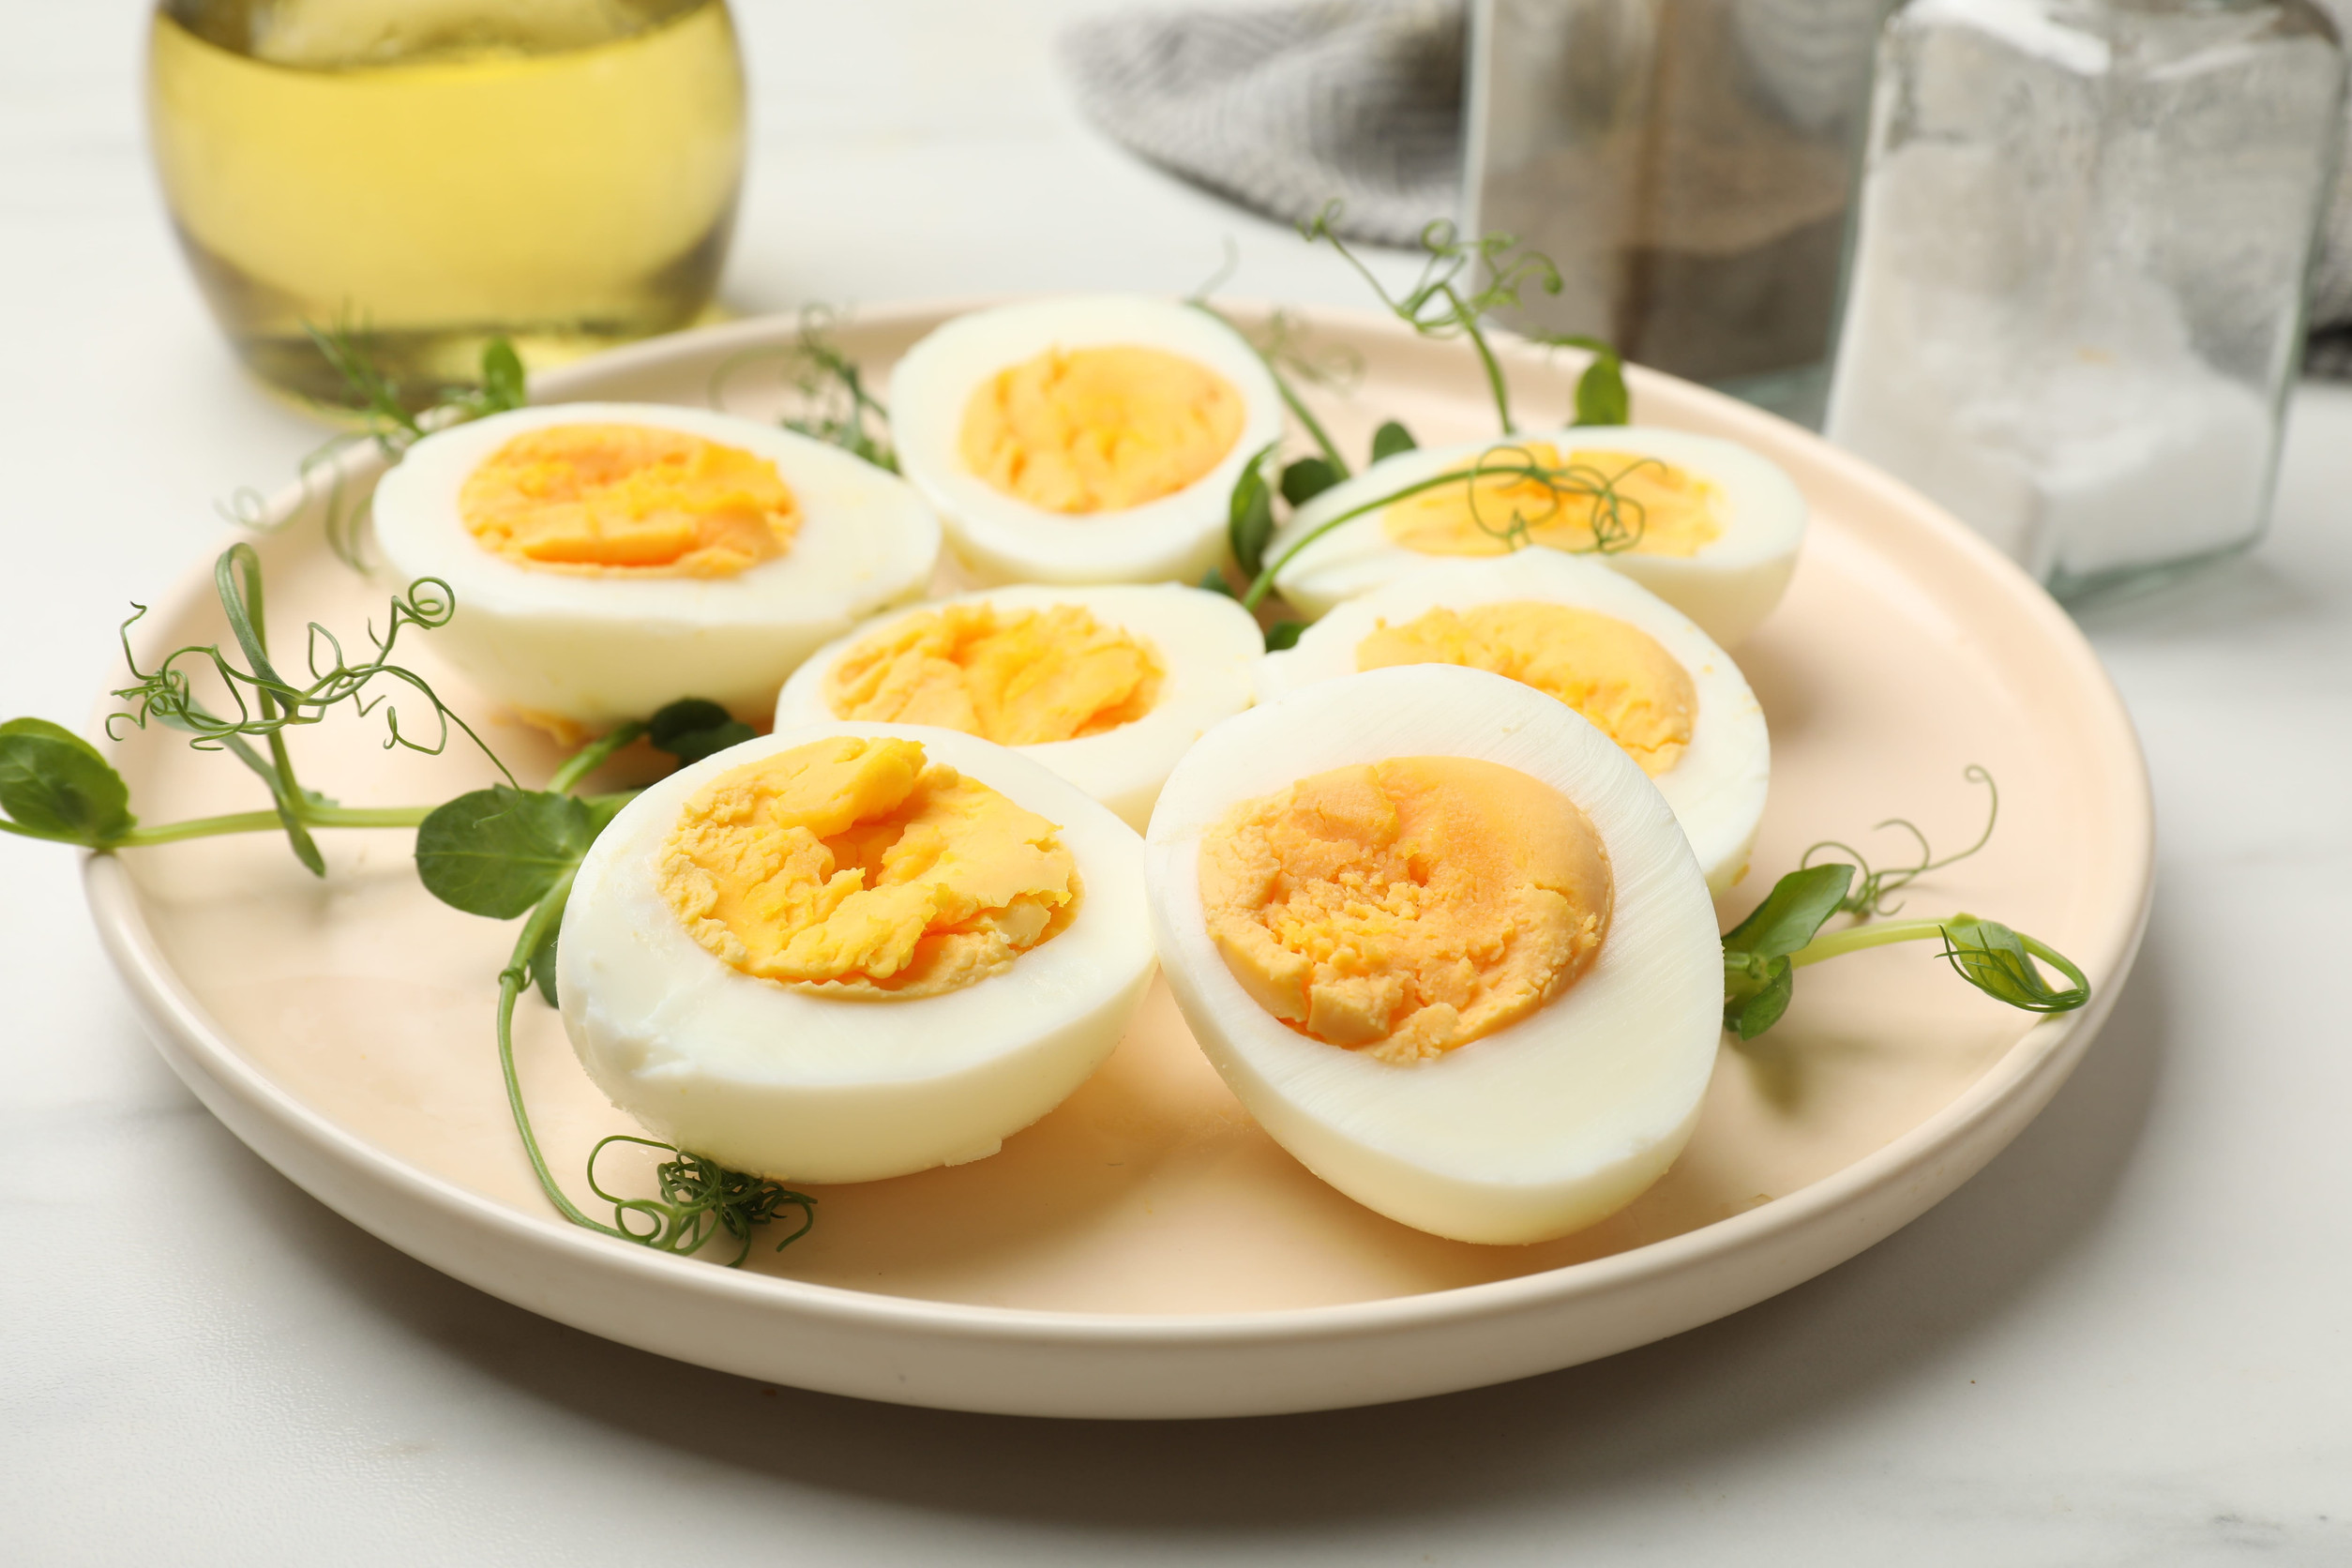
The 10-5-10 method is a simple way of preparing hard-boiled eggs using three separate time intervals. First, the eggs cook in boiling water for 10 minutes. They then rest for five minutes before spending another 10 minutes in cold water.
Each stage has a purpose. The initial boiling cooks the egg whites and yolks, while the resting period allows the cooking process to settle. The final cold water bath cools the eggs quickly, making them more comfortable to handle and helping loosen the shell.
The method is popular among home cooks because it does not require special kitchen equipment or complicated instructions. All you need is a saucepan, water, a timer, and the eggs you plan to cook.
Start by Boiling the Eggs for 10 Minutes
Place your eggs in a saucepan and add enough water to cover them by about an inch. Set the pan over medium to high heat and bring the water to a rolling boil. Once the water reaches a full boil, begin timing the first 10 minutes.
Keep the water at a steady boil rather than allowing it to bubble so aggressively that the eggs knock against one another. Excessive movement can cause the shells to crack, leaving egg whites leaking into the cooking water.
Ten minutes is generally enough to produce a firm yolk, although the final texture can vary depending on egg size, starting temperature, and cooking conditions. If you prefer a very firm center, you may need to adjust the timing slightly.
Let the Eggs Rest for Five Minutes
Once the first 10 minutes are over, turn off the heat and leave the eggs in the hot water for another five minutes. This resting period gives the eggs additional time to finish cooking without requiring you to keep the water at a rolling boil.
It is also a useful opportunity to prepare your cooling bath. Fill a large bowl with cold water and add several ice cubes if you have them. The water should be cool enough to bring down the temperature of the eggs quickly.
Avoid leaving the eggs sitting in hot water indefinitely because residual heat will continue cooking them. That can produce an overly firm yolk and a greenish ring around its surface.
Finish With a 10 Minute Cold Water Bath
After the five-minute resting period, carefully transfer the eggs into the bowl of cold water. Leave them there for approximately 10 minutes so they can cool thoroughly before peeling.
This final step is particularly helpful because eggs that remain hot are harder to handle and may continue cooking internally. Rapid cooling also helps create a slight separation between the cooked egg and its shell membranes, which can make peeling less frustrating.
An ice bath is especially useful if you have several eggs to prepare at once. Make sure the eggs are fully submerged, and add more cold water if the bowl starts warming up.
Crack the Shell Gently Before Peeling
Once the eggs have cooled, remove one from the bowl and gently tap it against a flat surface. Turn it around as you tap so that small cracks develop across the shell rather than concentrating in one spot.
You can then roll the egg gently under your palm to loosen more of the shell. Start peeling from the wider end, where there is usually a small air pocket that gives you a convenient place to get underneath the shell membrane.
Peeling the egg under a little running water can also help. Water works its way between the shell and the egg, making it easier to remove stubborn pieces without tearing the white.
Why Fresh Eggs Can Be Harder to Peel
If you have ever cooked a batch of fresh farm eggs and struggled to remove their shells, there is a reason. Very fresh eggs tend to be harder to peel because the egg white has a relatively low pH, allowing it to cling more tightly to the inner shell membrane.
As eggs age during refrigeration, their internal chemistry changes and the white becomes less acidic. This can make the shell easier to separate after cooking.
That is why eggs that have been sitting in your refrigerator for several days may peel more easily than eggs purchased or collected very recently. You do not need to use old eggs, but choosing eggs that are not extremely fresh can make preparation easier.
Avoid These Common Hard-Boiled Egg Mistakes
One common mistake is cooking eggs for too long. Leaving them in hot water well beyond the recommended time can produce rubbery whites and dry yolks. It may also encourage the formation of a greenish-gray ring around the yolk, which occurs when sulfur compounds from the egg white react with iron in the yolk.
Another mistake is skipping the cooling stage and trying to peel the eggs while they are still hot. Apart from making your fingers uncomfortable, the shells can be more difficult to remove when the eggs have not cooled properly.
It is also worth remembering that the 10-5-10 method is not a guaranteed solution for every egg. Egg size, age, altitude, and cooking equipment can affect the results, so a little adjustment may be necessary.
Store Your Cooked Eggs Properly
If you are preparing eggs ahead of time, proper storage matters just as much as cooking them correctly. According to the USDA, hard-boiled eggs should be refrigerated within two hours of cooking and kept at 40°F or below.
Hard-boiled eggs can be stored in the refrigerator for up to one week, whether they are peeled or unpeeled. Keeping them in a covered container helps protect them from absorbing odors from other foods.
For the best results, consider leaving the shells intact until you are ready to eat the eggs. If you peel them in advance, store them in a covered container in the refrigerator and enjoy them within the recommended storage period.
Is the 10-5-10 Method Worth Trying?
If you regularly make hard-boiled eggs for breakfast, salads, sandwiches, or snacks, the 10-5-10 method is worth testing in your kitchen. Its three timed stages provide a simple routine that helps cook the eggs thoroughly and cool them before peeling.
The biggest advantage is that you do not need fancy gadgets or expensive ingredients. A saucepan, a bowl of cold water, and a little patience are enough to get started.
Just remember that egg freshness and cooking conditions still matter. Once you find the timing that gives you the yolk texture you enjoy, preparing a batch of eggs should become a much less frustrating kitchen task.