Roasting a whole chicken doesn’t require an overnight marinade, a butter massage, or a counter covered in ingredients. Chef Thomas Keller’s straightforward approach starts with a small chicken, salt and pepper, then relies on dry skin and a hot oven. No basting or elaborate seasoning mixture is needed. For anyone who wants a proper roast dinner without turning the afternoon into a cooking project, that is an appealing starting point.
The method comes from Keller’s cookbook Bouchon, and its restraint is the point. His recipe calls for a 2- to 3-pound chicken roasted at 450°F, with optional thyme added after cooking. The essential work happens before the bird enters the oven: dry it thoroughly, season it evenly, and tie it into a compact shape. After that, the most important tool isn’t another ingredient; it is a food thermometer.
One important update to the older recipe: skip rinsing the raw chicken. Current food-safety guidance advises against washing raw poultry because splashing can spread bacteria around the kitchen. Drying the chicken with paper towels gives you the preparation step this method needs without taking it to the sink. Simple should mean fewer unnecessary tasks, not fewer safeguards.
Start With Dry Skin, Not a Complicated Marinade
For this approach, gather a fully thawed 2- to 3-pound whole chicken, kosher salt, freshly ground black pepper, and, if desired, two teaspoons of minced thyme. You will also need paper towels, kitchen twine, a roasting pan or suitable oven-safe skillet, and a food thermometer. Keller’s published recipe serves two to four people, so check the bird’s weight rather than assuming any supermarket chicken will fit the same timetable. A larger bird is not interchangeable with a smaller one when it comes to cooking time.
Preheat the oven to 450°F, then pat the chicken thoroughly dry, including inside the cavity. This is not a decorative step: Keller’s method emphasizes limiting moisture so the bird roasts rather than steams. As he puts it in Bouchon, “The less it steams, the drier the heat, the better.” The goal is dry skin before seasoning, not a bird dripping with marinade or coated in a complicated mixture.
Season the cavity with salt and pepper, then truss the chicken with kitchen twine. Trussing means securing the legs and wings close to the body rather than leaving them spread out. Keller explains that this arrangement helps the bird cook evenly and keeps the drumstick ends positioned over the breast. It is the one small piece of hands-on technique in an otherwise deliberately uncomplicated recipe.
Next, season the outside evenly with kosher salt and pepper. Keller describes his approach this way: “I like to rain the salt over the bird so that it has a nice uniform coating that will result in a crisp, salty, flavorful skin.” His recipe specifies about one tablespoon of kosher salt for the small chicken. The key takeaway is an even coating across the bird, not a concentrated pile in one spot.
Let the Oven Work and Let the Thermometer Decide
Place the chicken in the roasting pan or oven-safe skillet and put it into the fully heated oven. Then resist the urge to keep opening the door to spoon liquid over it. “I leave it alone; I don’t baste it, I don’t add butter,” Keller writes, explaining that he does not want the steam those additions can create. In this version, leaving the chicken alone is part of the method, not a sign you forgot dinner.
Keller estimates a roasting time of 50 to 60 minutes for his 2- to 3-pound bird. Treat that as a checking window, not a promise that every chicken will be ready when the timer rings. FoodSafety.gov’s roasting charts show how much cooking time changes with bird size and oven temperature. A much larger chicken needs its own timing plan; the thermometer, rather than the recipe’s clock, determines when it is safely cooked.
For a straightforward home-cooking rule, aim for 165°F in the thickest part of the breast, the innermost part of the thigh and the innermost part of the wing. FoodSafety.gov identifies those as the places to check for whole poultry. Do not stop after measuring only one convenient spot, and do not use browned skin as a substitute for a temperature reading. A good-looking chicken still needs that final check before it leaves the oven.
If any of those areas is below the safe minimum, continue roasting and check again before removing the bird. This keeps the method simple and doesn’t require you to predict how much the temperature might rise during resting. The distinction is useful: oven temperature tells you how you are cooking, while internal temperature tells you whether the chicken is ready. You need both pieces of information, but only one of them settles the doneness question.
Related: Oktoberfest Is Officially Back: Munich Welcomes Millions for 16 Days of Food, Music and Beer
Give It a Rest, Then Keep Dinner Easy
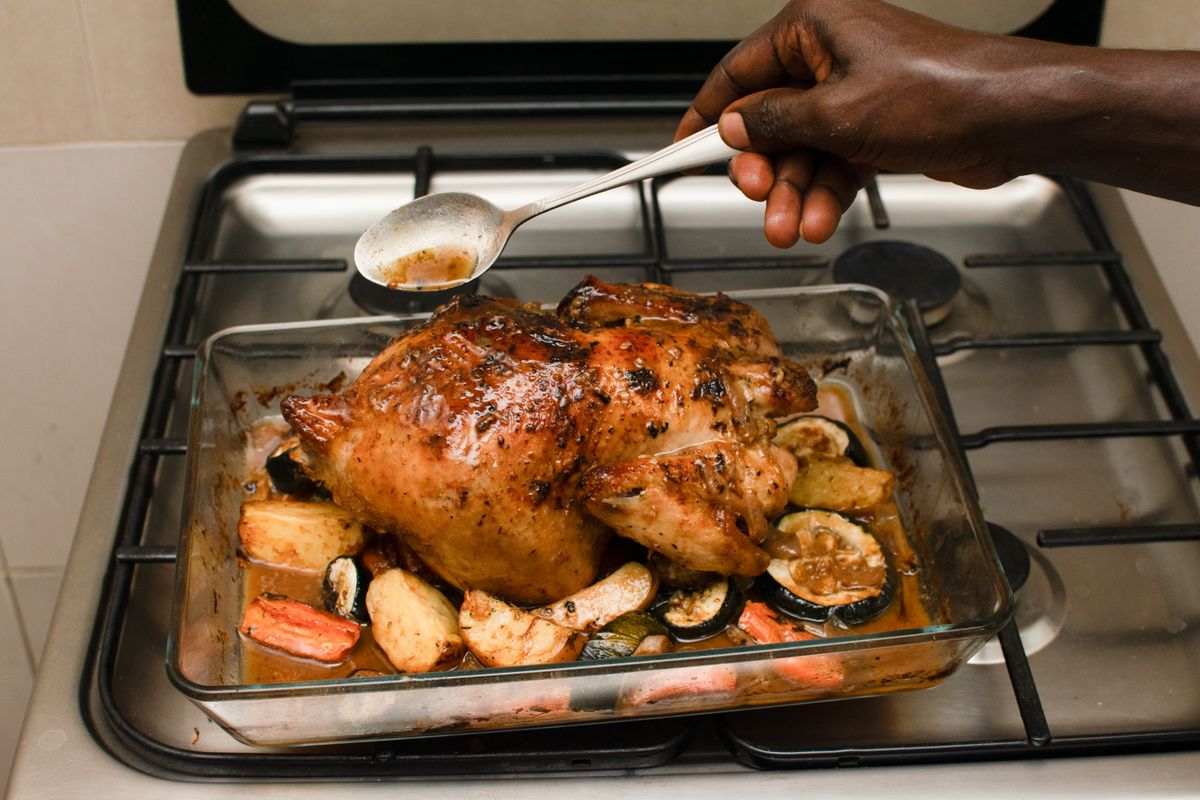
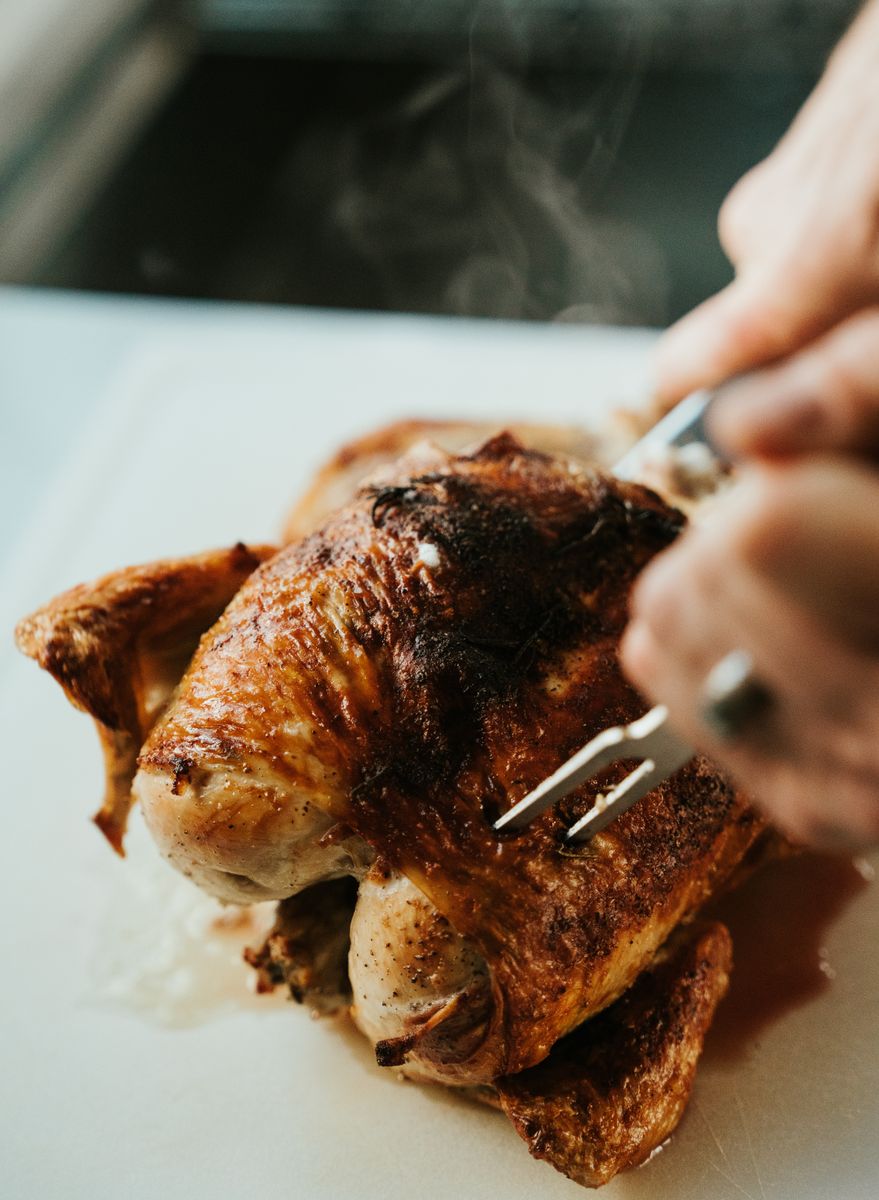
Once the chicken reaches the safe temperature, transfer it to a clean cutting board and let it rest for 15 minutes,as Keller’s recipe directs. If you are using thyme, add it to the pan juices after roasting and spoon those juices over the cooked bird. Notice the timing: the recipe skips basting in the oven but allows it afterward. You still get to use the flavorful juices without interrupting the roasting process.
Remove the twine before carving, then separate the legs and thighs and portion the breast meat. Keller explicitly writes that “the preparation is not meant to be super elegant.” He suggests mustard on the side and a simple green salad, with butter served on the meat if desired. Those are finishing options, not extra steps you must complete for the basic roast to work.
Finally, give leftovers the same attention you gave the thermometer. USDA guidance says to refrigerate cooked leftovers within two hours, so don’t leave the remaining chicken out through a long evening of grazing. This dinner’s appeal is its short list of decisions: dry, season, roast, check, and rest. That sequence leaves plenty of room for a good meal and little need for a culinary obstacle course.
Other Posts You Might Like
- 6 Actions You Should Never Take, Regardless of How Tempting They May Seem
- The 6 World’s Most Beautiful Bucket-List Castles, Ranked
- 8 Habits That Suggest a Woman May Be a Low-Quality Person