A good DIY project can make a home feel sharper, cleaner, and more personal. A bad one can turn one weekend of confidence into weeks of repairs, surprise bills, damaged materials, and a phone call to a contractor who now has to undo the damage before fixing the real problem.
We can save money with DIY, but only when we treat the work as a real project rather than a quick experiment. The biggest home improvement mistakes usually begin before the first nail, brush stroke, tile, cut, or screw goes in. They begin with poor planning, weak measurements, skipped prep, cheap materials, and overconfidence around systems that should never be handled casually.
Starting Without a Clear DIY Project Plan
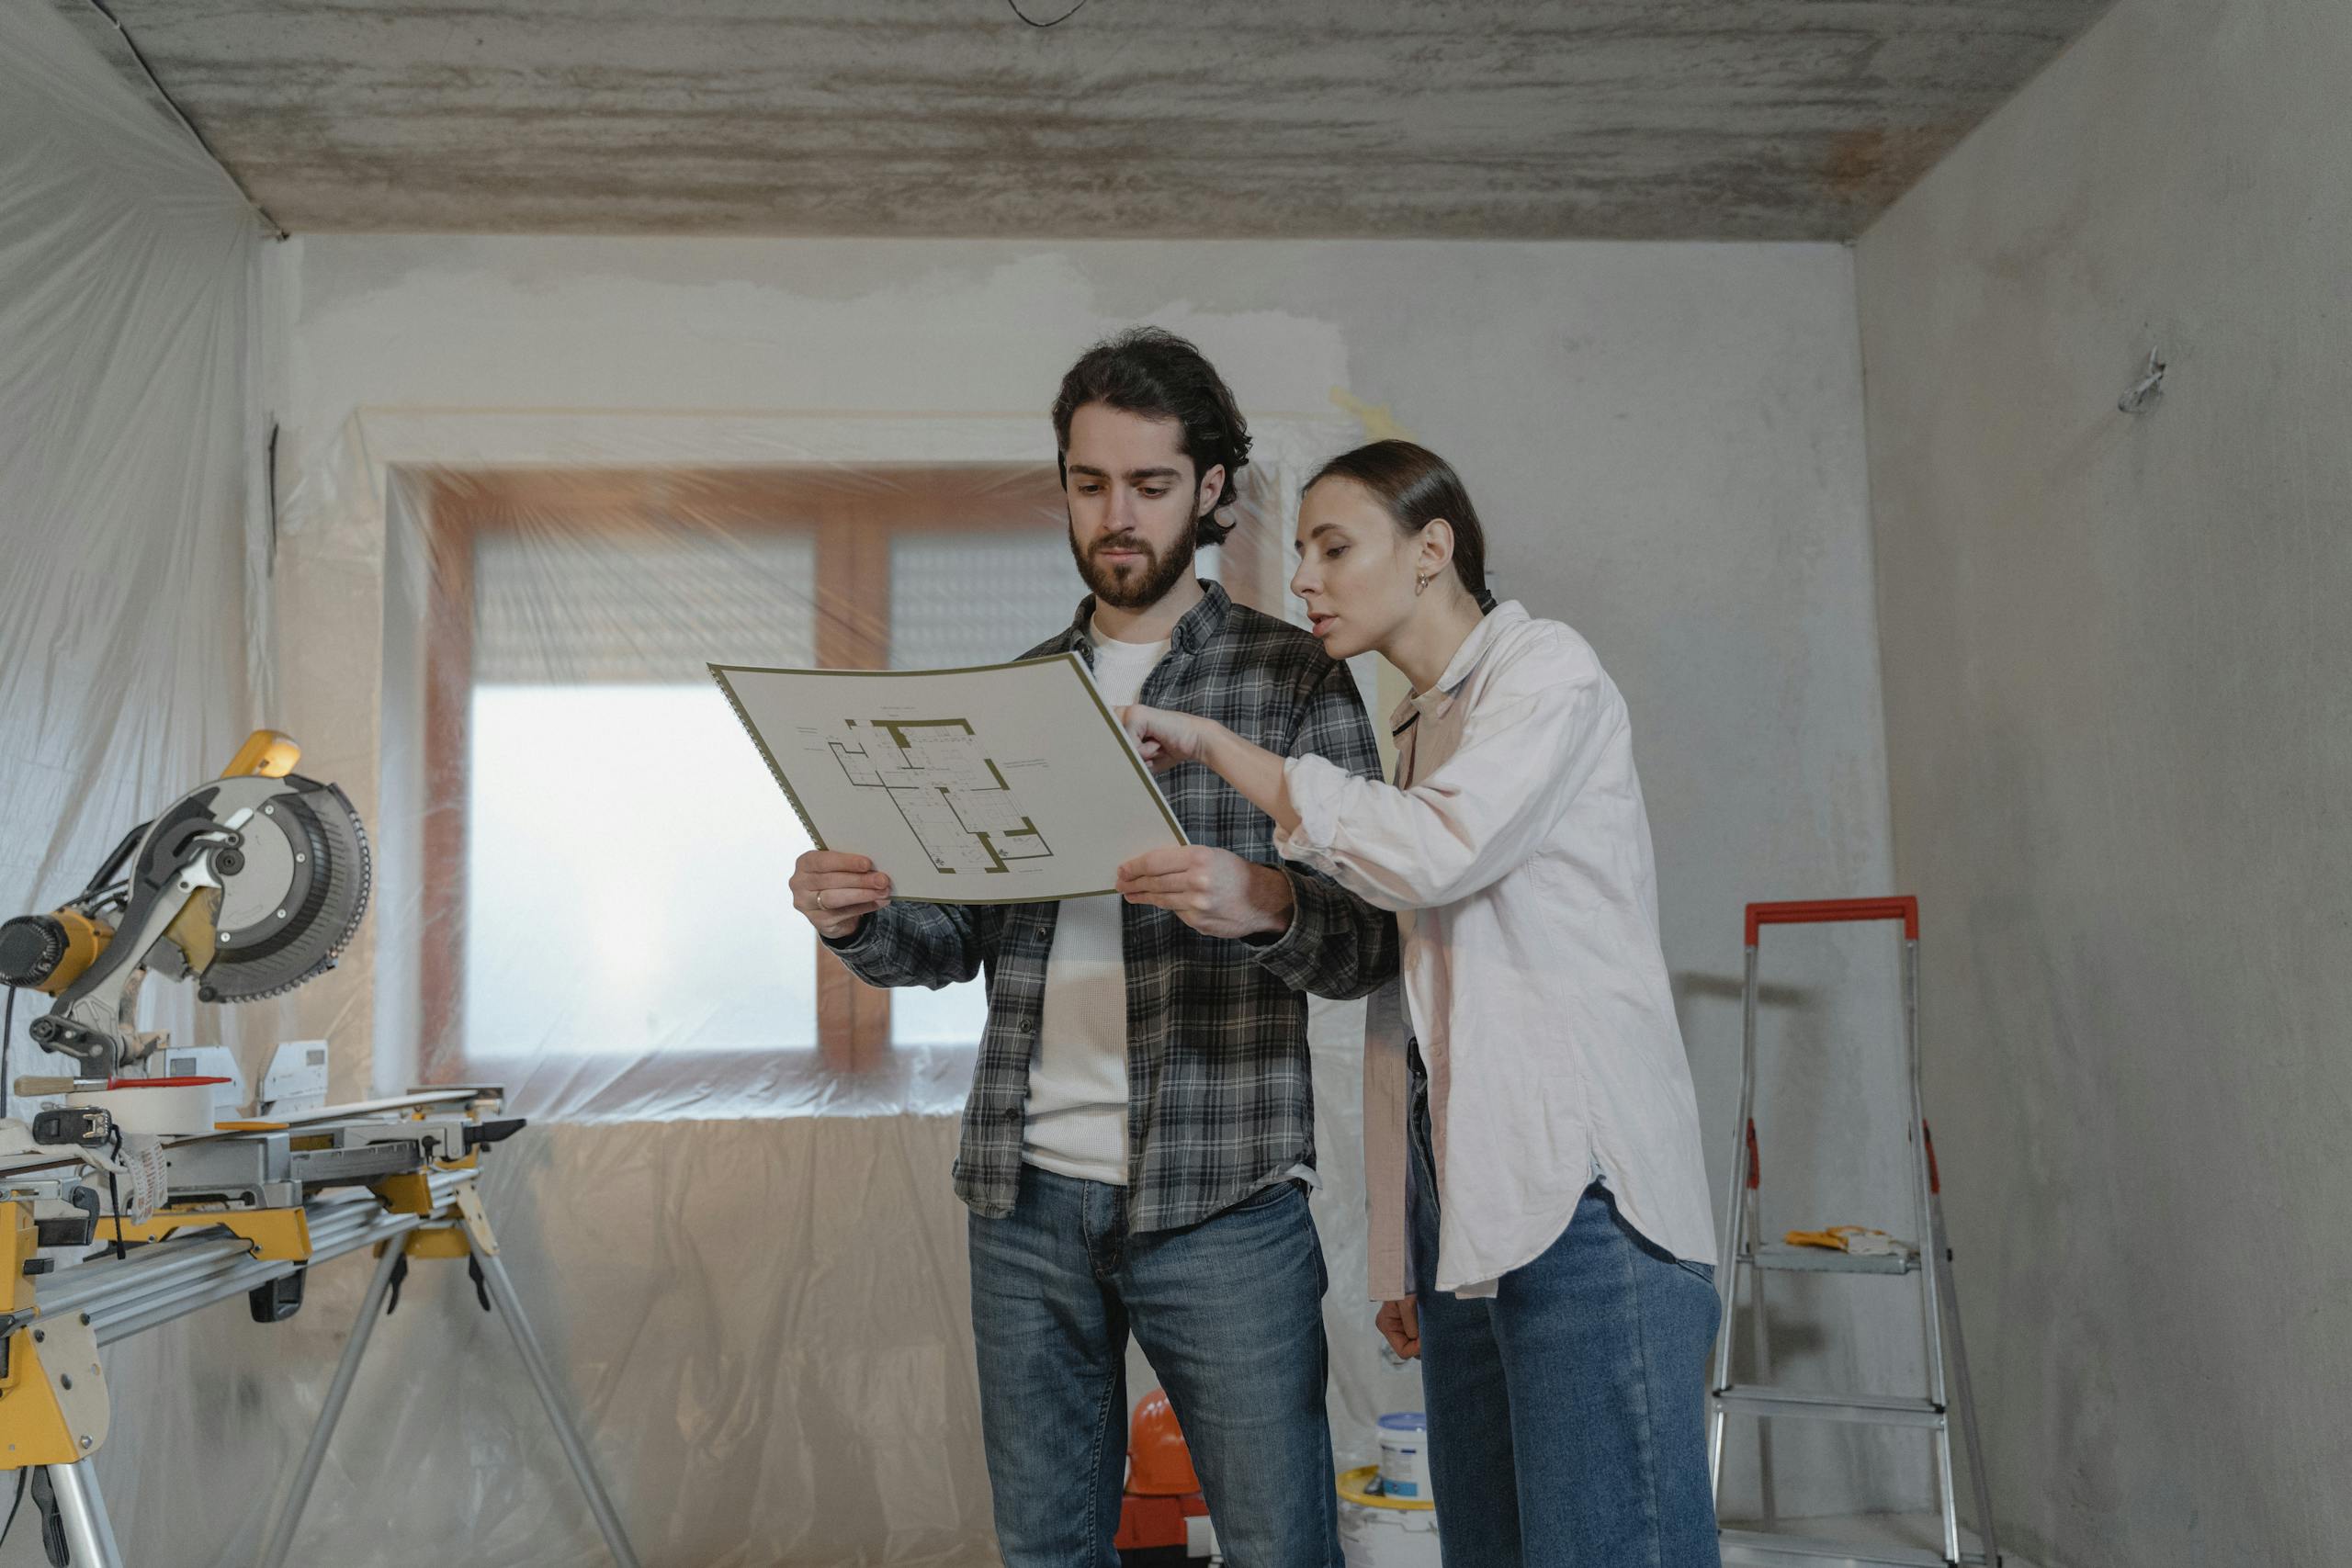
One of the most expensive DIY mistakes is starting with excitement instead of structure. Many homeowners see a tutorial, buy a few supplies, clear a weekend, and assume the project will unfold neatly. Real home improvement rarely works that way because walls, floors, plumbing lines, wiring, moisture problems, uneven surfaces, and old materials often hide complications that a short video never shows.
We need a written plan before the project begins. That plan should include measurements, materials, tools, surface preparation, expected time, cleanup needs, safety gear, and a realistic budget. A proper plan also helps us decide where the project starts, where it stops, and when professional help becomes the smarter choice.
Underestimating the Real Cost of DIY Work
DIY often looks cheaper because we compare it to a contractor’s quote without counting every hidden expense. Paint trays, rollers, blades, fasteners, adhesive, sandpaper, drop cloths, patching compound, caulk, rental tools, protective gear, replacement parts, and waste disposal can quietly push the total higher. One small mistake can also double the cost if we ruin materials and have to buy them again.
We should build a budget with room for surprises. A safe DIY budget should include the core materials, extra materials for errors, tool costs, permit fees where needed, and a backup amount for hidden issues. When the numbers approach a professional quote, the cheaper choice may no longer be DIY.
Using the Wrong Tools for the Job
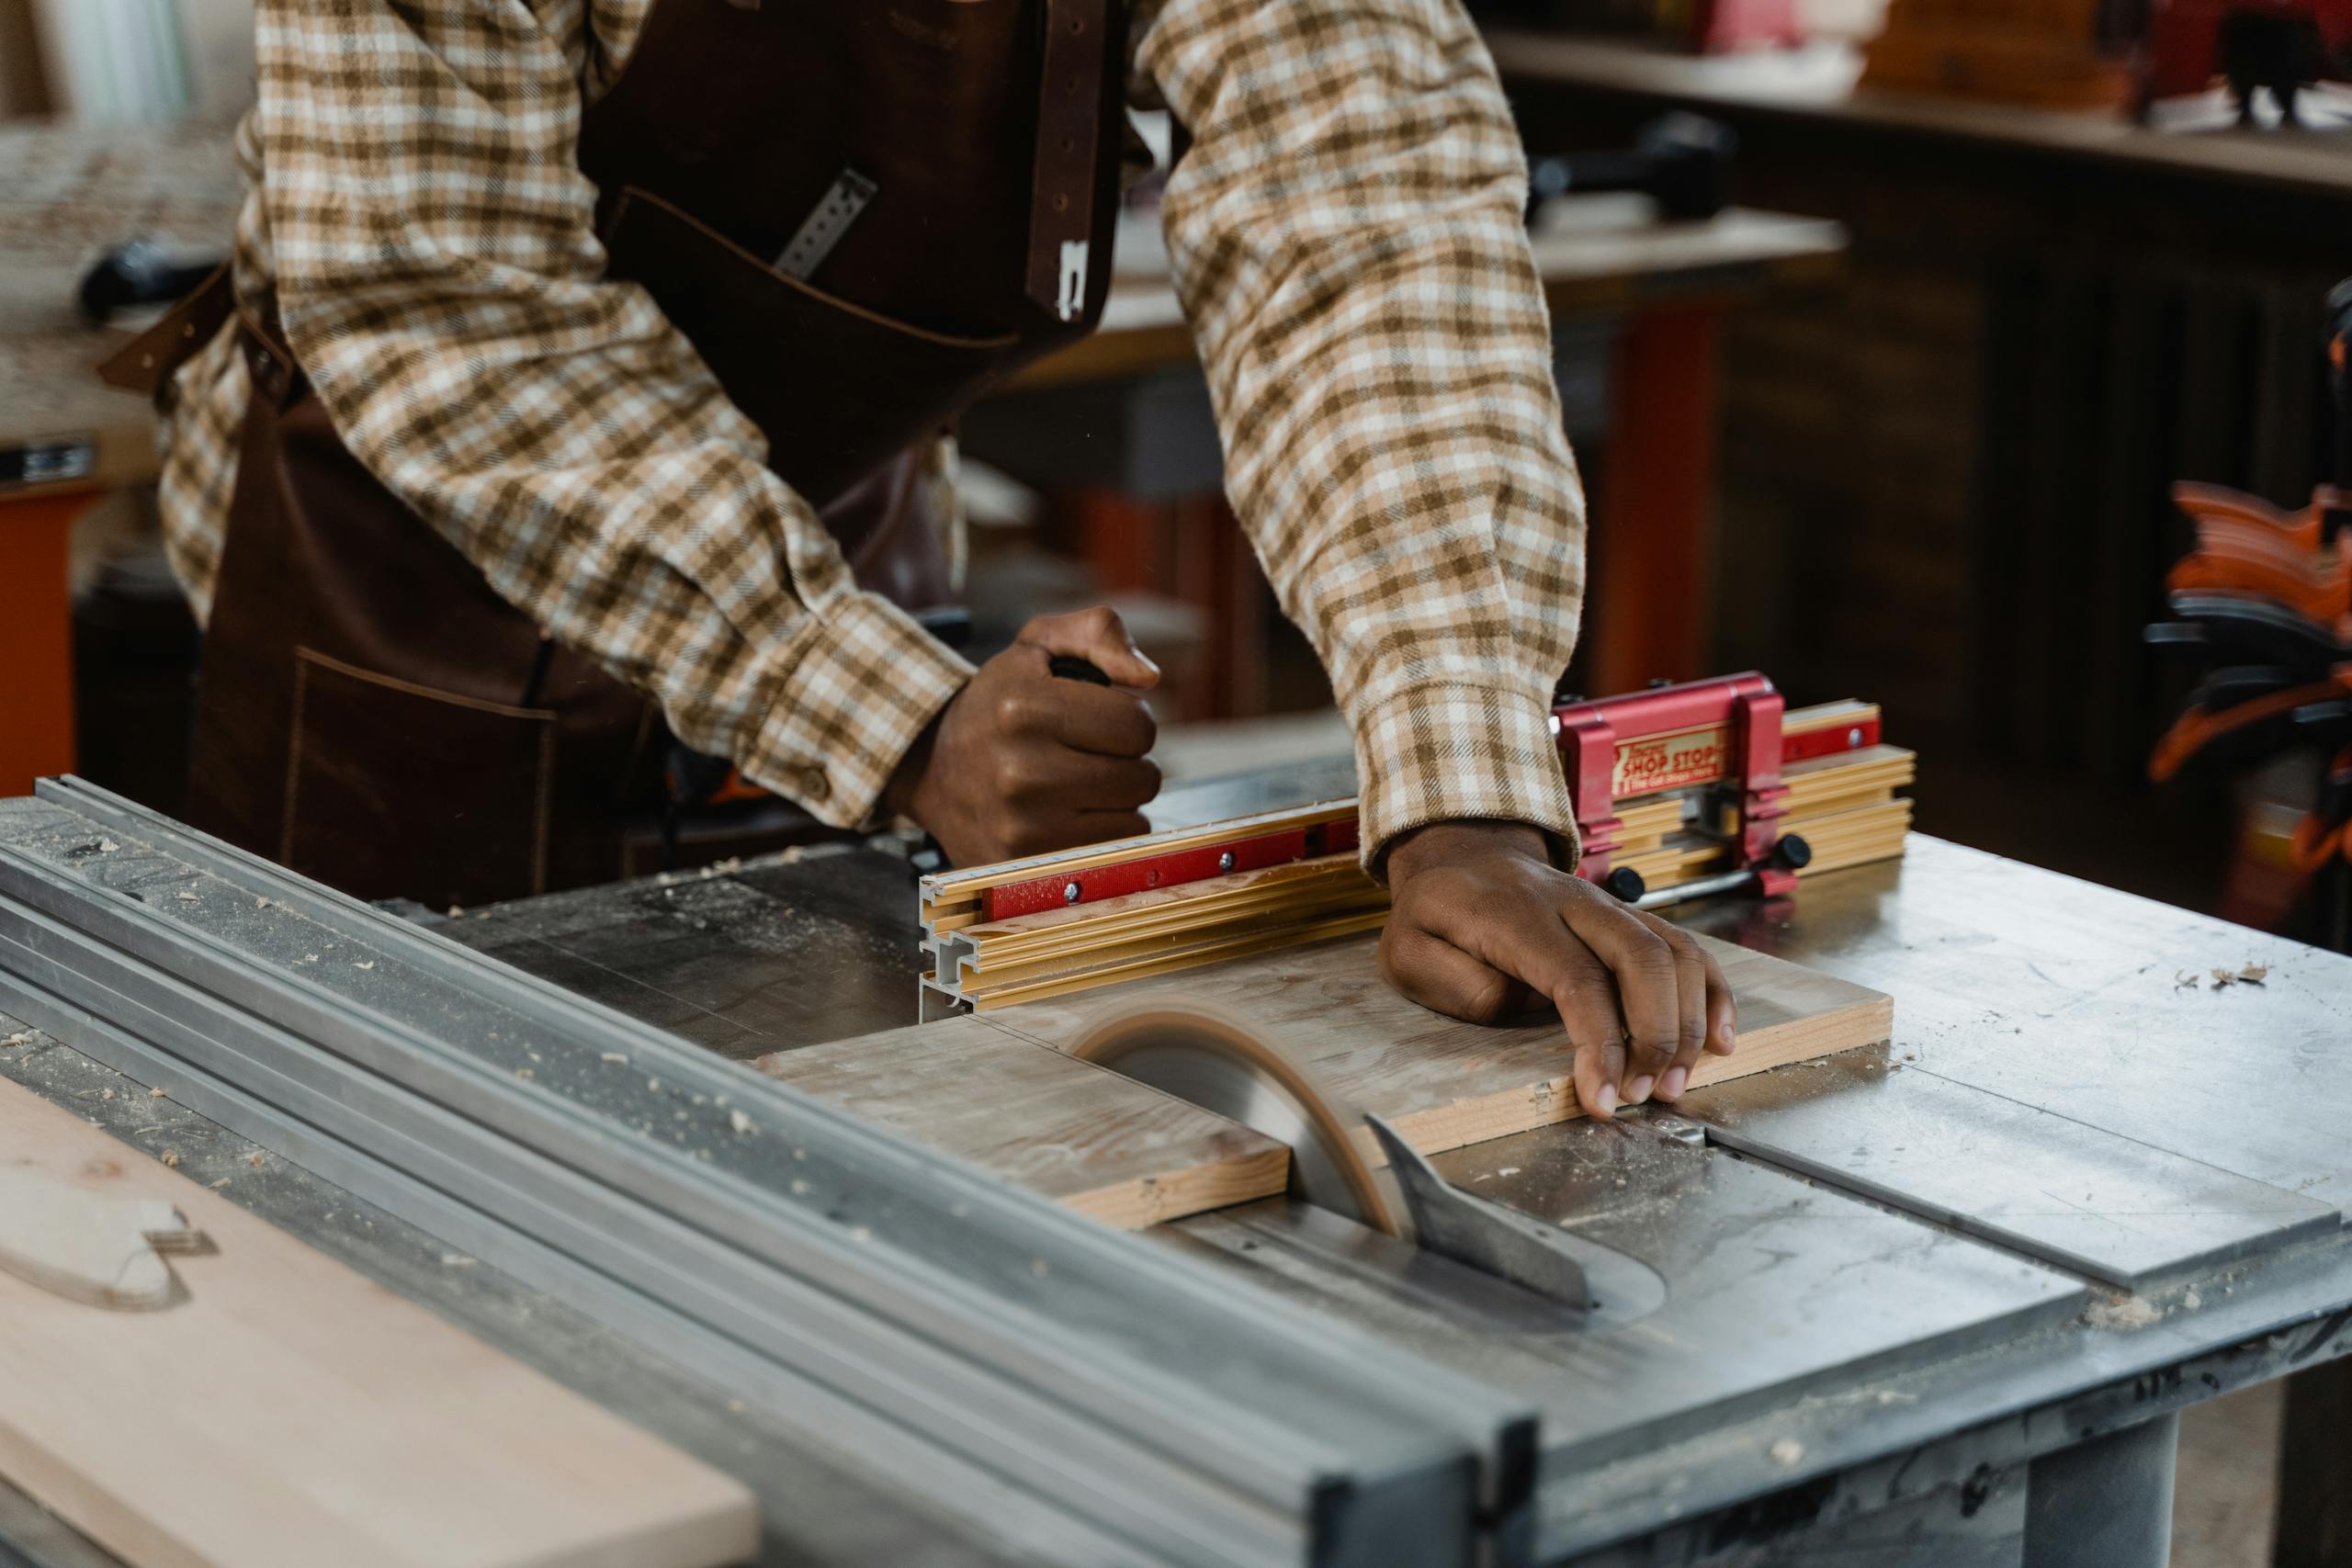
Using whatever tools are already in the garage can make a project slower, messier, and more dangerous. A dull blade can tear material rather than cut it cleanly. The wrong drill bit can crack tile, split wood, or damage fasteners. A weak ladder, a poor measuring tool, or a cheap level can lead to mistakes that are clearly visible in the finished work.
We do not need to own every tool, but we do need the right tool for the task. Renting tools can be smarter than improvising with the wrong equipment. Before beginning, we should match each step of the project with the tool it requires, then confirm that each tool is safe, clean, sharp, stable, and designed for the material we are working on.
Skipping Surface Preparation Before Painting or Sealing
Paint, stain, caulk, tile, sealant, and adhesive depend on the surface beneath them. Many DIY projects fail because homeowners rush toward the visible finish and ignore the boring prep work. Dirty walls, glossy surfaces, loose paint, dust, moisture, grease, and uneven patches can stop new materials from bonding properly.
We should clean, dry, sand, patch, prime, and test surfaces before applying any finish. This step may feel slow, but it is what separates a polished result from a project that peels, bubbles, cracks, or looks uneven within weeks. Good prep work is rarely exciting, but it is often the reason the final result looks professional.
Measuring Once and Cutting Too Soon
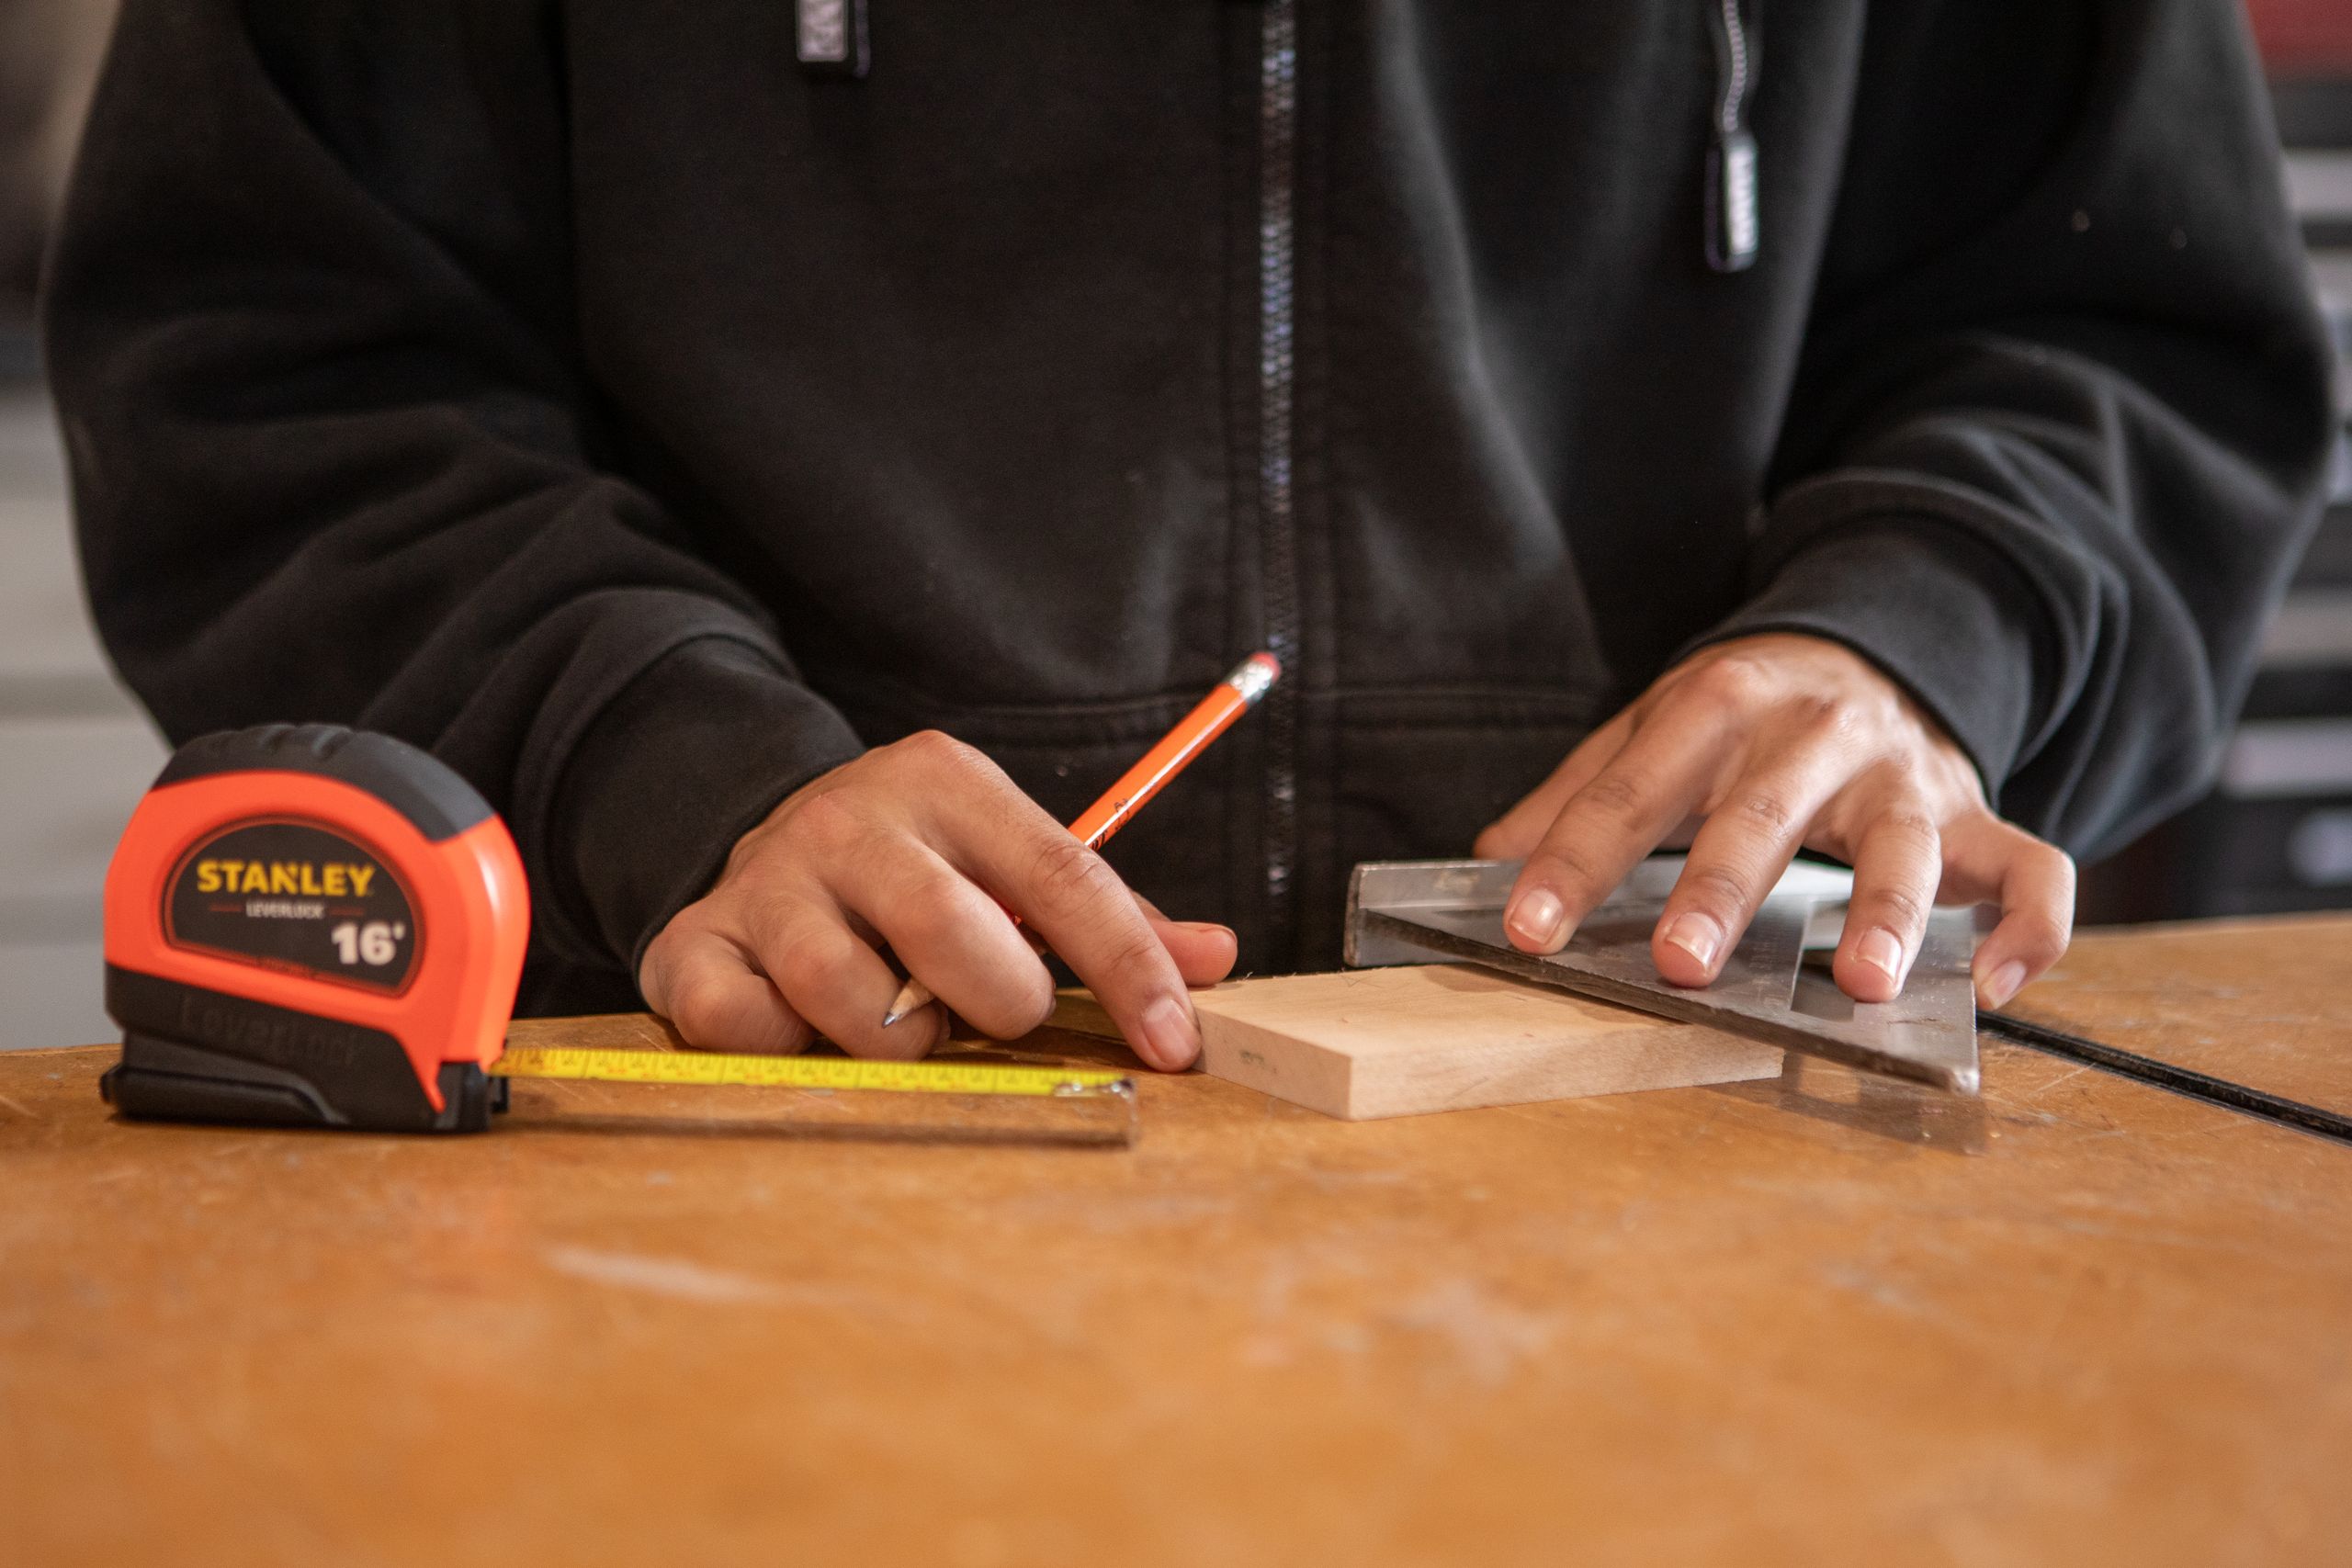
Bad measurements can ruin materials quickly. A cabinet that is slightly too wide, a shelf that sits unevenly, flooring that leaves awkward gaps, or tile that does not line up can make the entire project look careless. The mistake becomes more expensive when the material is custom, limited, or difficult to replace.
We should measure more than once before cutting, drilling, ordering, or installing. Walls are not always square, floors are not always level, and older homes often have irregular dimensions. For best results, we should measure the actual space at multiple points and record the measurements instead of relying on memory.
Ignoring Building Codes and Permit Requirements
Some DIY projects affect more than appearance. Decks, additions, finished basements, electrical work, plumbing changes, structural openings, major HVAC work, and certain exterior changes may require permits or inspections. Skipping this step can lead to safety risks, fines, insurance issues, and trouble during a future home sale.
We should check local requirements before starting any major home improvement project. Building codes are not just paperwork. They exist to protect the home, the people inside it, and future buyers. When a project involves safety systems, structure, utilities, or legal compliance, we should treat permits as part of the project plan rather than as an optional delay.
Taking On Electrical or Plumbing Work Without Skill
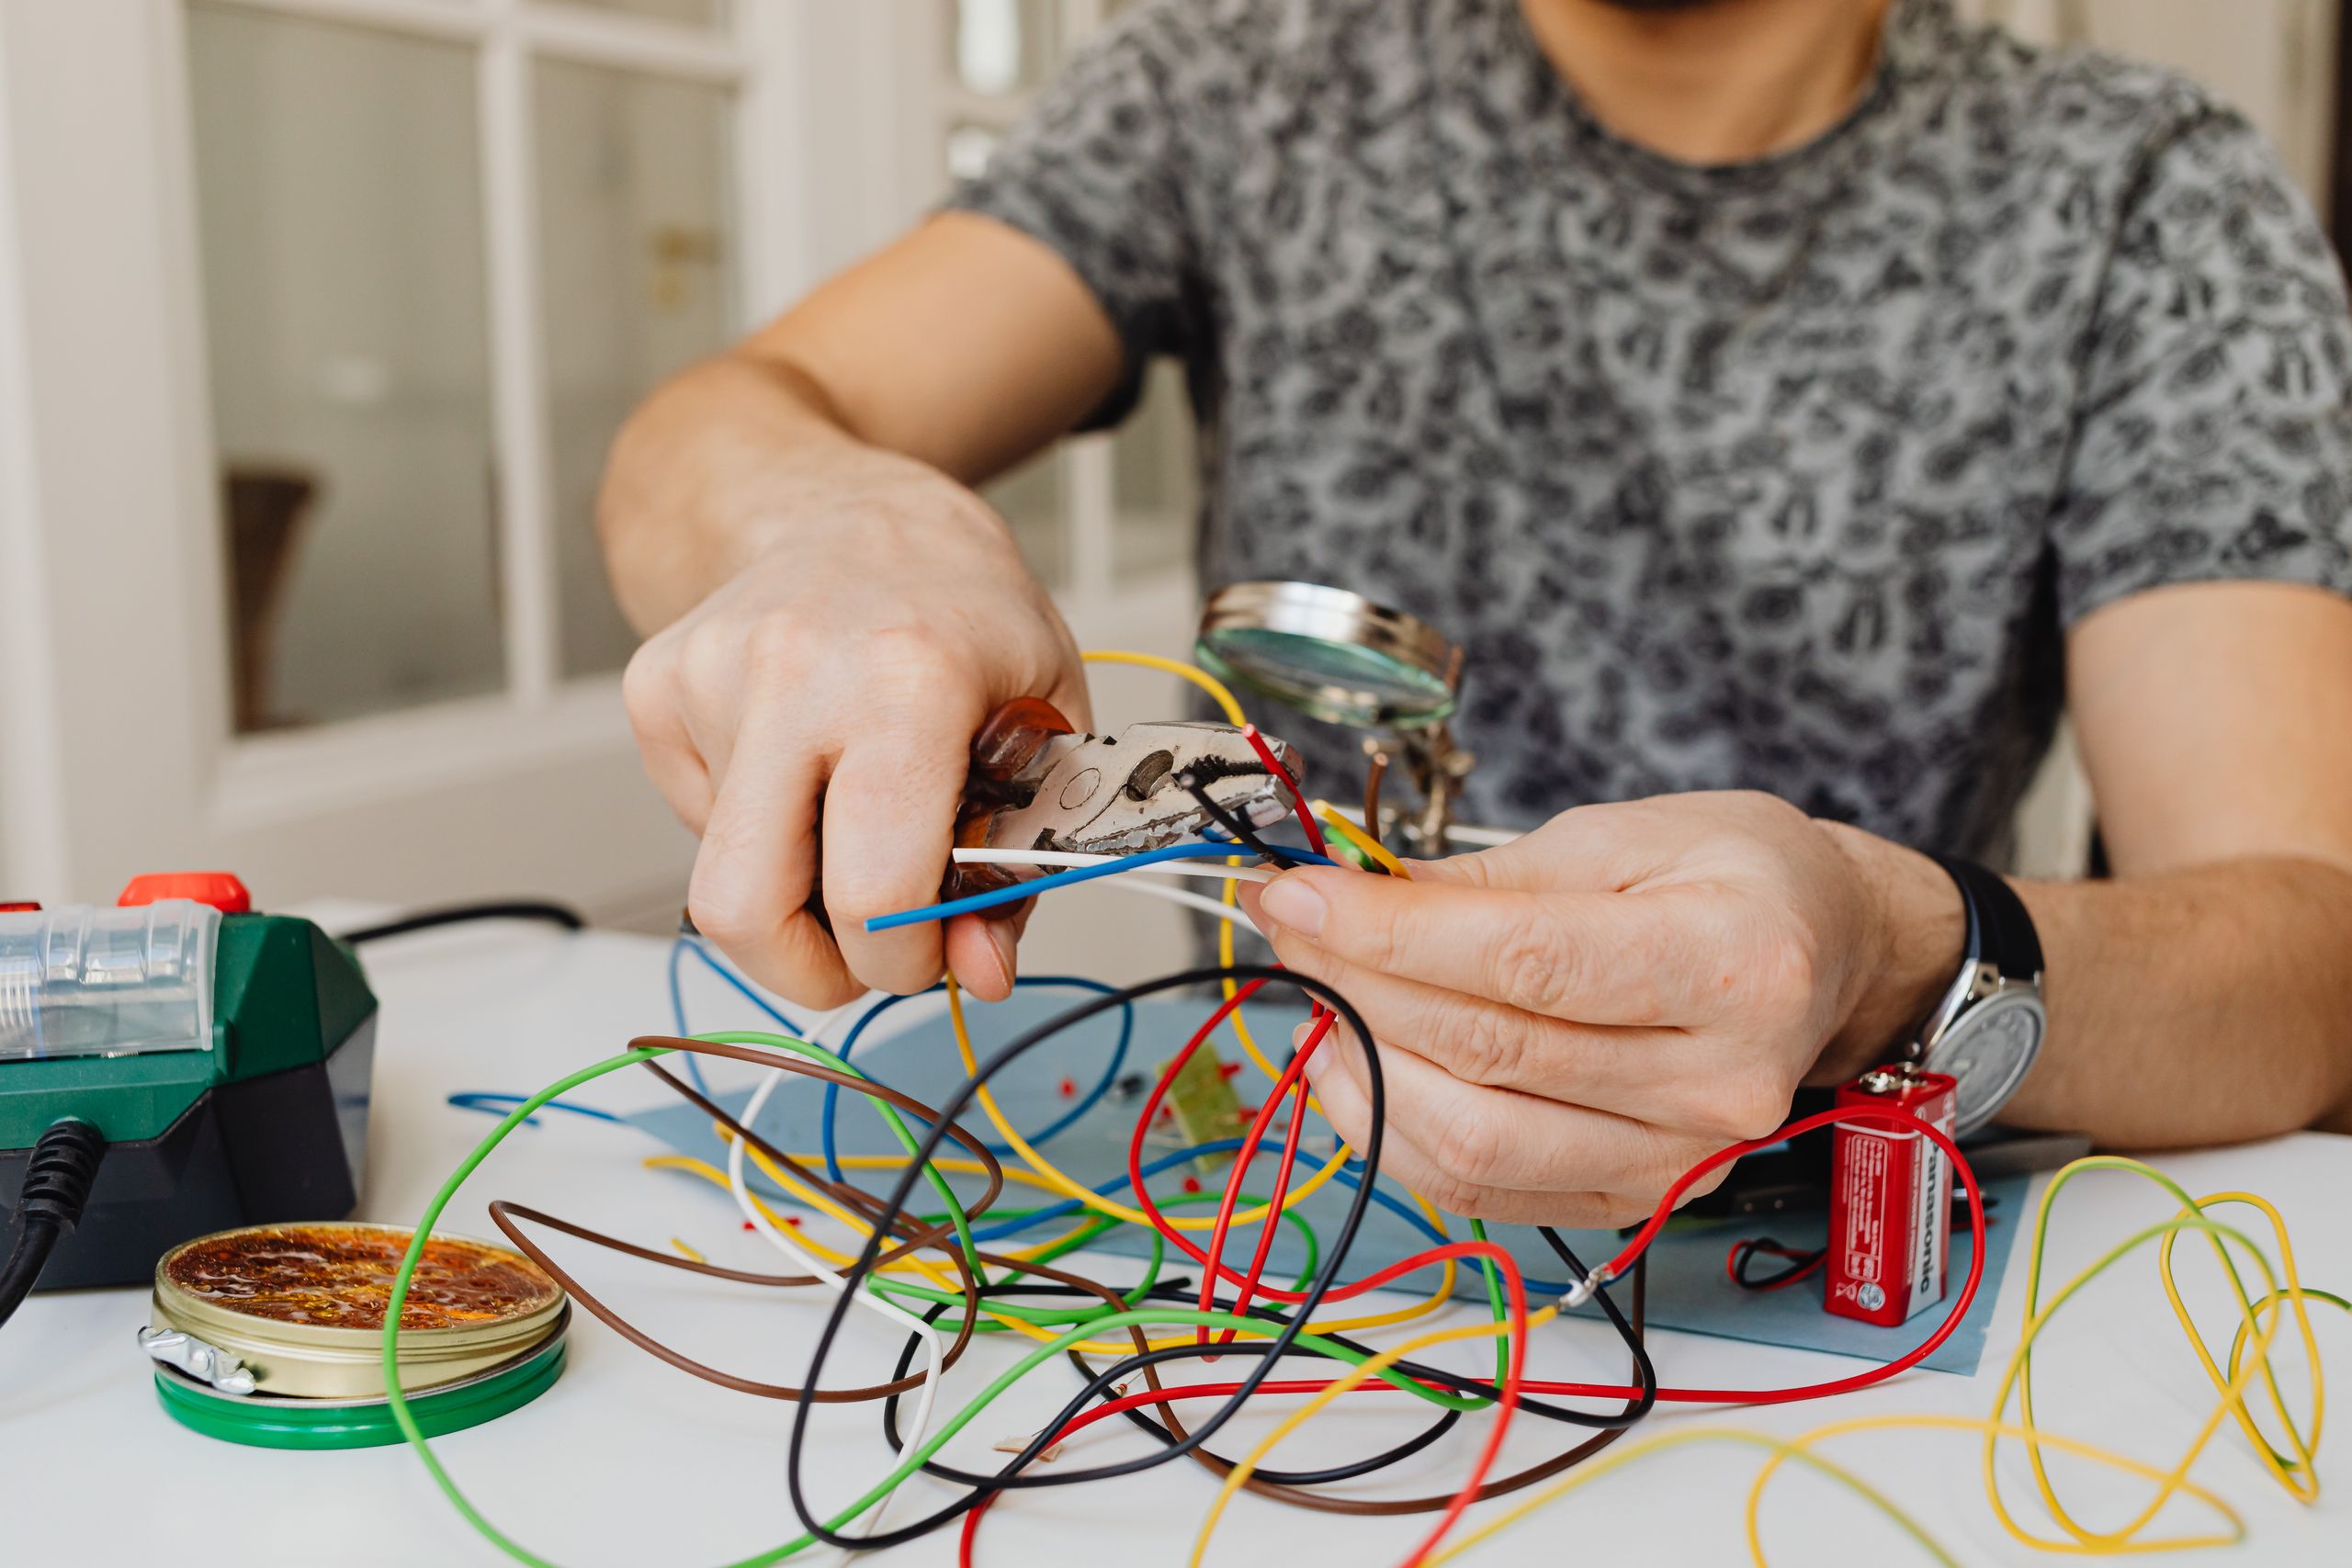
Electrical and plumbing mistakes can become dangerous fast. A poorly wired outlet can create shock or fire risks. A loose plumbing connection can cause hidden leaks behind walls or under floors. These problems may not appear immediately, which makes them even more costly because damage can spread silently before anyone notices.
We should know our limits with technical systems. Simple fixture swaps may be manageable for careful homeowners in some cases, but major wiring, panel work, pipe rerouting, gas lines, drainage changes, and hidden connections require trained professionals. Saving money loses its value when the result creates fire hazards, water damage, mold, or code violations.
Removing Walls Without Checking Structural Impact
Open floor plans can look simple on renovation shows, but walls are not just visual dividers. Some carry weight from the roof, upper floors, or ceiling structure. Removing the wrong wall without proper support can cause cracks, sagging, shifting, and serious structural damage.
We should never assume a wall is non-load-bearing based only on appearance. Before removing walls, widening openings, cutting framing, or installing heavy fixtures, we should get the structure assessed. A professional evaluation can prevent a dramatic design idea from becoming one of the most expensive DIY mistakes a homeowner can make.
Rushing the Work and Skipping Drying or Curing Time

Many DIY failures happen because the project moves too quickly. Paint needs time between coats. Concrete, grout, adhesive, caulk, primer, sealant, and joint compound all need proper drying or curing time. When we rush these steps, the finished surface can crack, peel, smear, lift, stain, or lose strength.
We should follow product instructions closely and give materials the time they need. A project that takes two days and lasts years is better than a project forced into one day that starts failing next month. Patience is part of quality control, especially when materials rely on bonding, drying, sealing, or hardening.
Forgetting Safety Gear and Basic Protection
Safety mistakes can turn a simple project into an emergency. Eye injuries, cuts, falls, burns, dust exposure, fumes, and electrical shocks are common risks when homeowners treat DIY as casual weekend work. Even small tasks can become dangerous when ladders, sharp tools, power equipment, chemicals, or heavy materials are involved.
We should use safety glasses, gloves, masks or respirators when needed, hearing protection, proper footwear, and stable ladders. We should also protect the home with drop cloths, ventilation, dust control, and safe storage of tools and chemicals. A clean, organized work area reduces accidents and keeps the project under control.
Failing to Inspect for Hidden Damage First
DIY projects often uncover problems that were already there. Mold, water stains, soft subfloors, pest damage, outdated wiring, rotted wood, poor ventilation, cracked tile backing, or previous bad repairs can change the entire job. Covering these problems with new material does not fix them. It only hides them until they become worse.
We should inspect the project area before buying materials or setting a final budget. If we see stains, smells, soft spots, cracks, bulges, loose surfaces, or signs of moisture, we should pause and investigate. A beautiful finish over a damaged base is not an upgrade. It is a temporary cover for a bigger repair.
When We Should Stop a DIY Project and Call a Professional

A smart DIYer knows when to pause. We should stop when we find active leaks, mold, burning smells, damaged wiring, structural movement, cracked beams, gas line concerns, sewage issues, major rot, or anything that feels beyond our skill level. Continuing through uncertainty can turn a fixable issue into a major repair.
Professional help is not failure. It is part of responsible homeownership. The best DIY decisions protect the home, protect the people inside it, and protect the money already invested in the project. Confidence matters, but judgment matters more.
How do we avoid expensive DIY mistakes?
We avoid expensive DIY mistakes by planning carefully, measuring accurately, checking permits, using the right tools, buying durable materials, properly preparing surfaces, and calling professionals for risky work. The safest DIY projects are the ones we approach with patience and clear limits.
Smart DIY Starts Before the First Cut
The best DIY projects begin long before the tools come out. We protect our budget by planning carefully, checking the condition of the home, choosing quality materials, and refusing to rush work that needs patience. We also protect the home by knowing which jobs belong in the hands of professionals.
A successful DIY project should improve the home without creating hidden risks behind the walls, under the floors, or inside the budget. When we respect the process, the tools, the materials, and the limits of our own skill, home improvement becomes something better than a weekend gamble. It becomes a project we can trust.